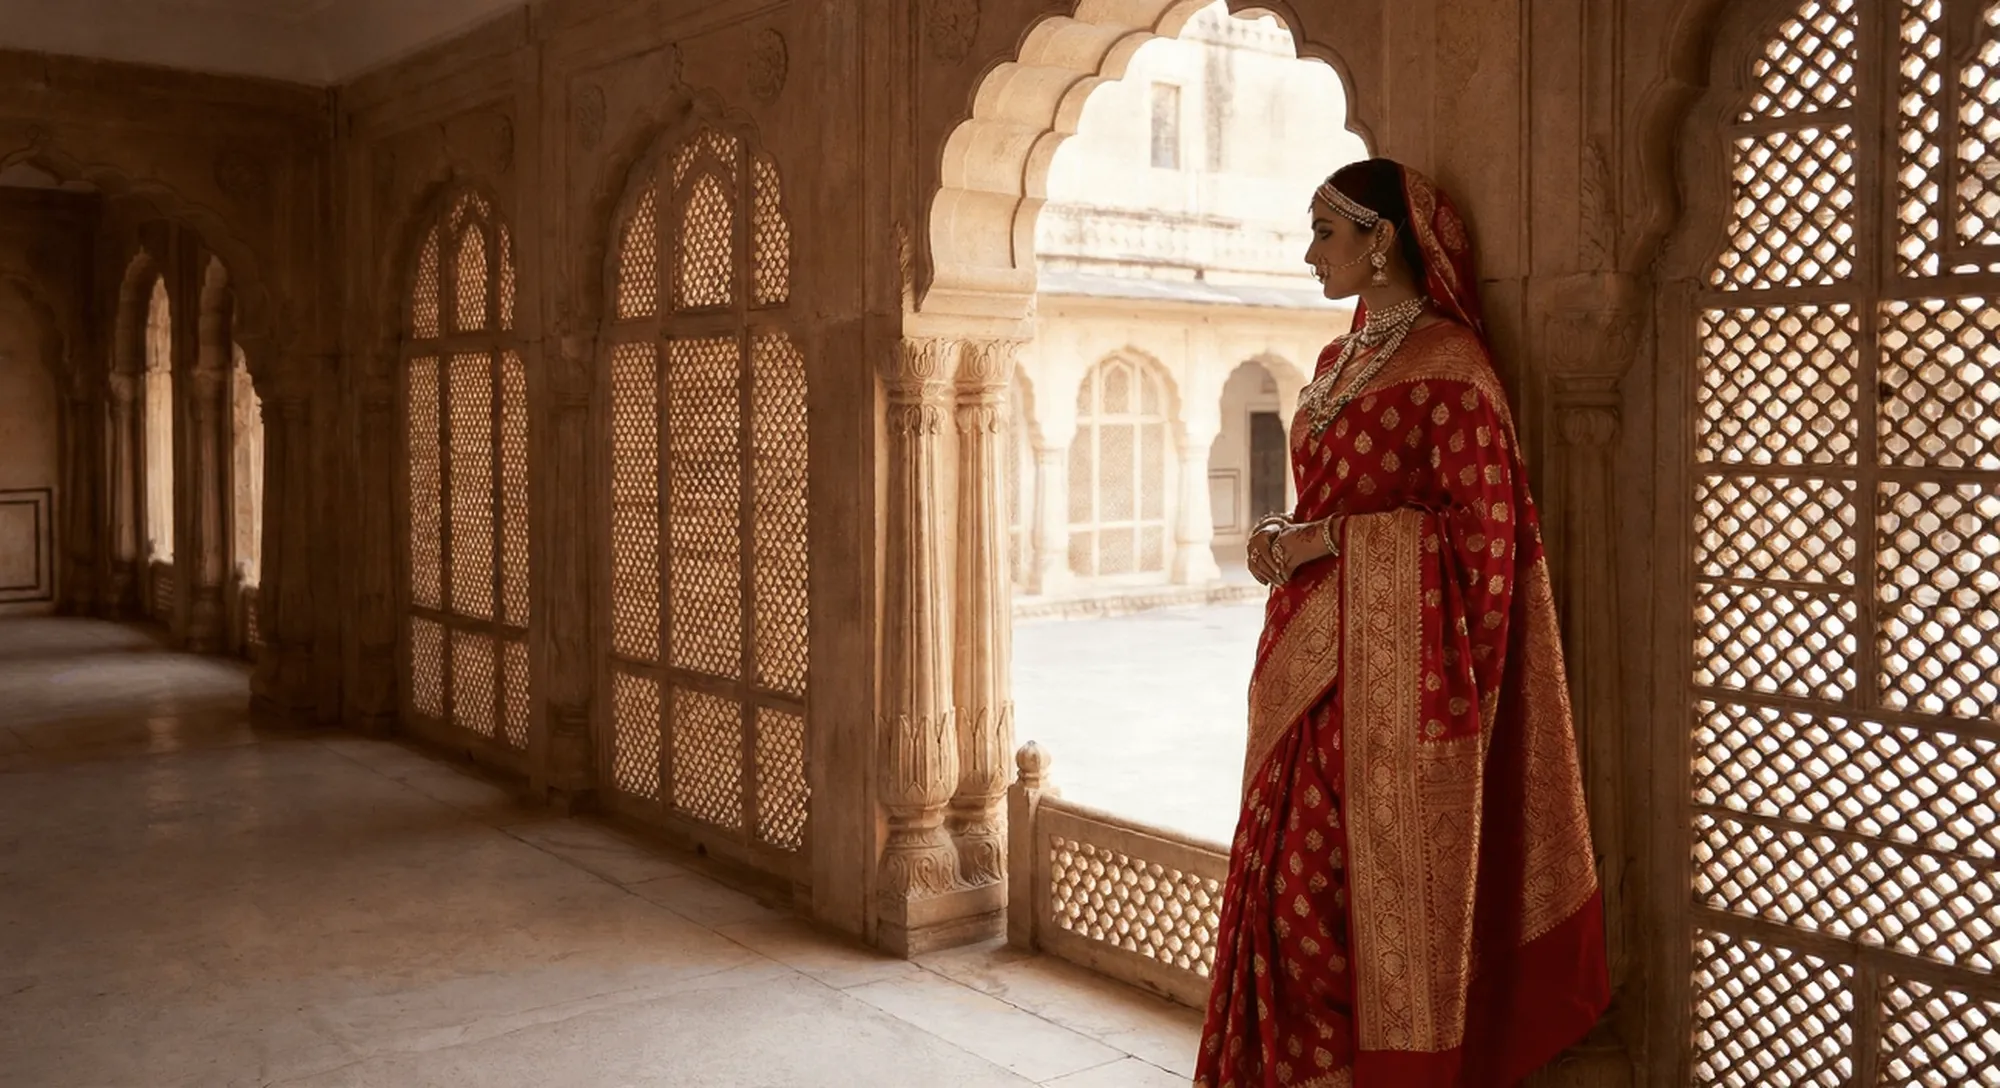
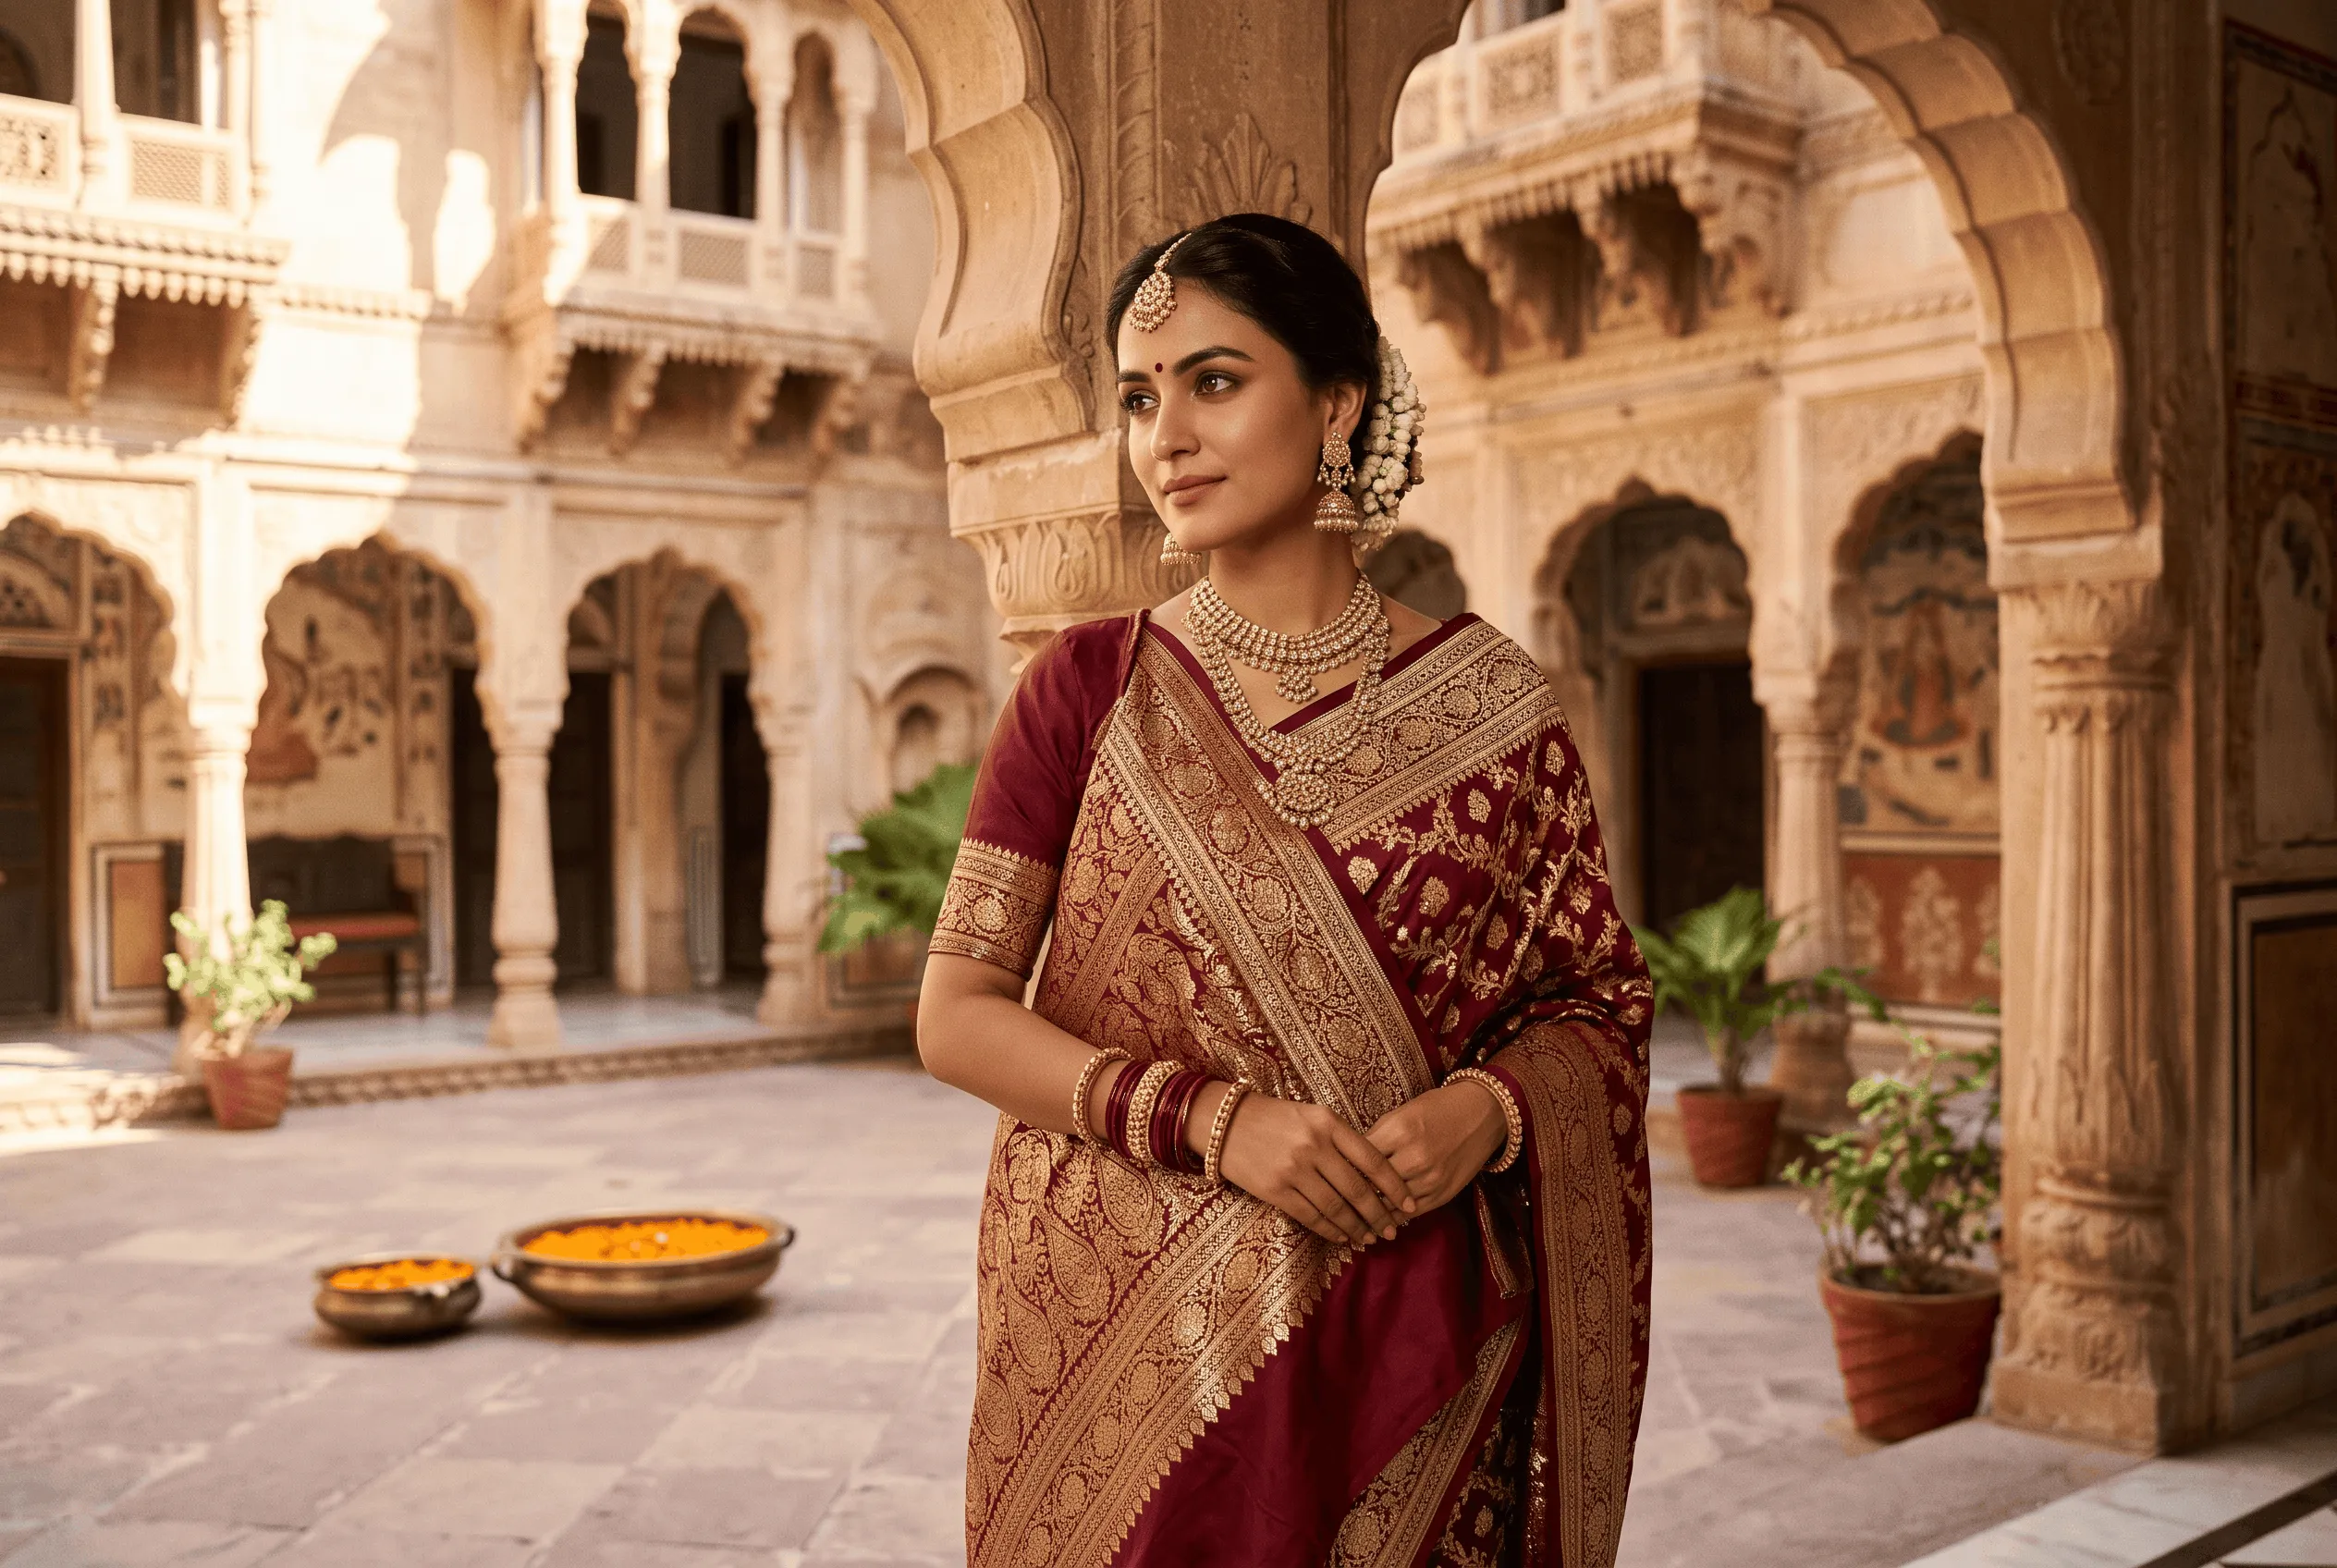
A Banarasi saree is one of the most beautiful things you can wear, but it is not the easiest saree to drape.
Heavy zari, stiff brocade and a richly woven pallu behave very differently from a soft georgette or chiffon. Pleats can puff out, the pallu can slide off the shoulder and the whole drape can feel bulky if you treat it like a lightweight saree.
The good news is that a few simple adjustments make a Banarasi saree look neat, elegant and comfortable for hours.
This step-by-step guide explains how to drape a Banarasi saree in the classic Nivi style, how to handle heavy katan and brocade weaves, how to show off the pallu, and which pins, petticoats and blouses make the job easier.
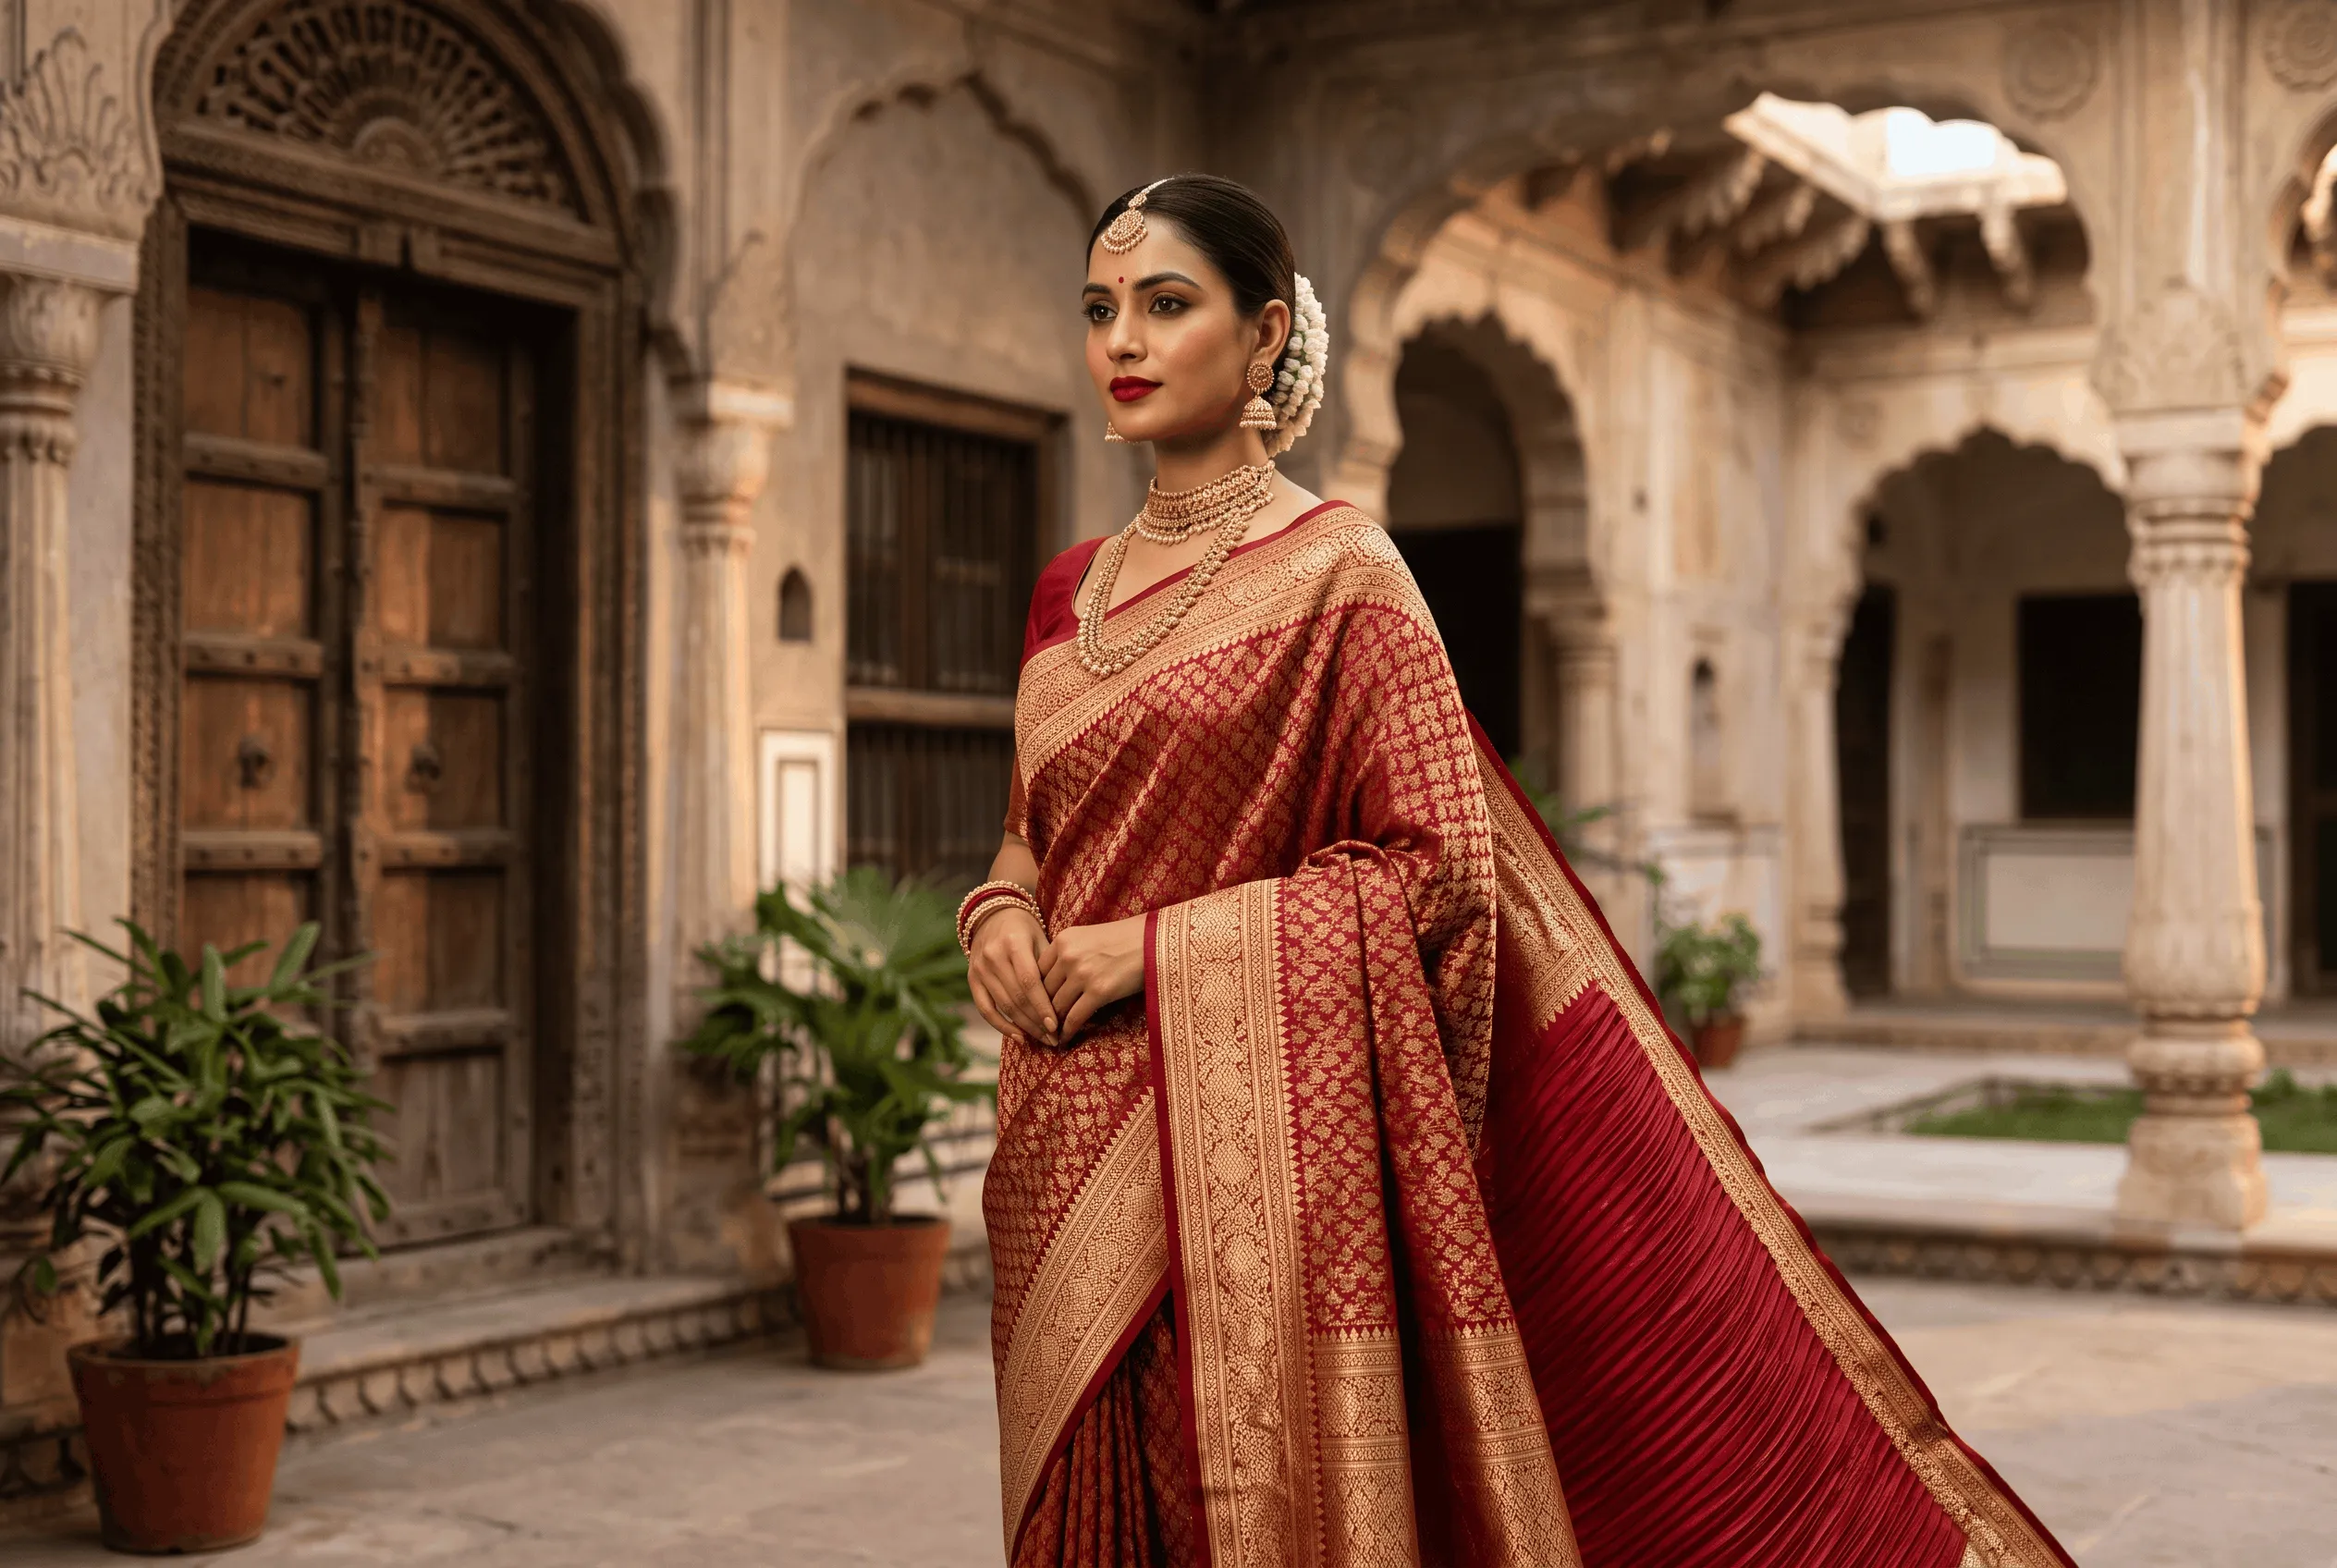
Why Banarasi Sarees Need a Different Approach
Banarasi sarees are woven in Varanasi, often in pure silk with gold or silver zari. Many have heavy brocade patterns across the body and a dense, richly decorated pallu.
That richness creates three draping challenges:
Weight: a heavy pallu pulls the saree backwards and off the shoulder.
Stiffness: brocade and zari do not fold as softly as plain silk, so pleats can look thick.
Bulk at the waist: too much fabric tucked at the waist makes the drape look heavy.
Once you plan for these, draping becomes much easier. If you are still choosing a saree, our Banarasi silk saree buying guide explains how weave and zari affect weight.
What You Need Before You Start
A well-fitted petticoat in a matching colour, tied firmly at the waist. A cotton petticoat grips silk better than satin.
A blouse that fits well at the shoulders, so the pallu has something stable to sit on.
Safety pins: at least five to seven, including small ones for pleats and a larger one for the shoulder.
The footwear you will wear, because the hem length depends on it.
A full-length mirror and, ideally, someone to help with the pleats the first few times.
A steam iron to press the pallu and pleat folds lightly in advance.
Prepare the Saree the Night Before
Open the saree fully and check for creases, especially on the pallu.
Iron it on the reverse side with a cloth in between, using a low silk setting. Never press zari directly with a hot iron.
Pre-pleat the pallu if you want a pleated pallu: fold it into even pleats about 4–5 inches wide, pin them and leave the saree hanging overnight. Heavy silk holds the folds much better after resting.
Step-by-Step: Draping a Banarasi Saree in Nivi Style
Step 1: Start the tuck at the right hip
Hold the plain end of the saree (the end without the pallu).
Tuck the top edge into the petticoat at your right hip, then take it around to the front and continue tucking all the way around your waist, finishing back at the front.
Check the hem: it should just touch the top of your footwear and should be level all the way around.
Step 2: Make one full round
Bring the saree around your body once more so the fabric wraps you completely, tucking it in at the waist as you go.
Keep the fabric smooth and flat. With heavy Banarasi silk, avoid tucking in too much fabric at this stage, or the waist will look bulky.
Step 3: Plan the pallu length
Take the remaining fabric, including the pallu, across your front and over your left shoulder.
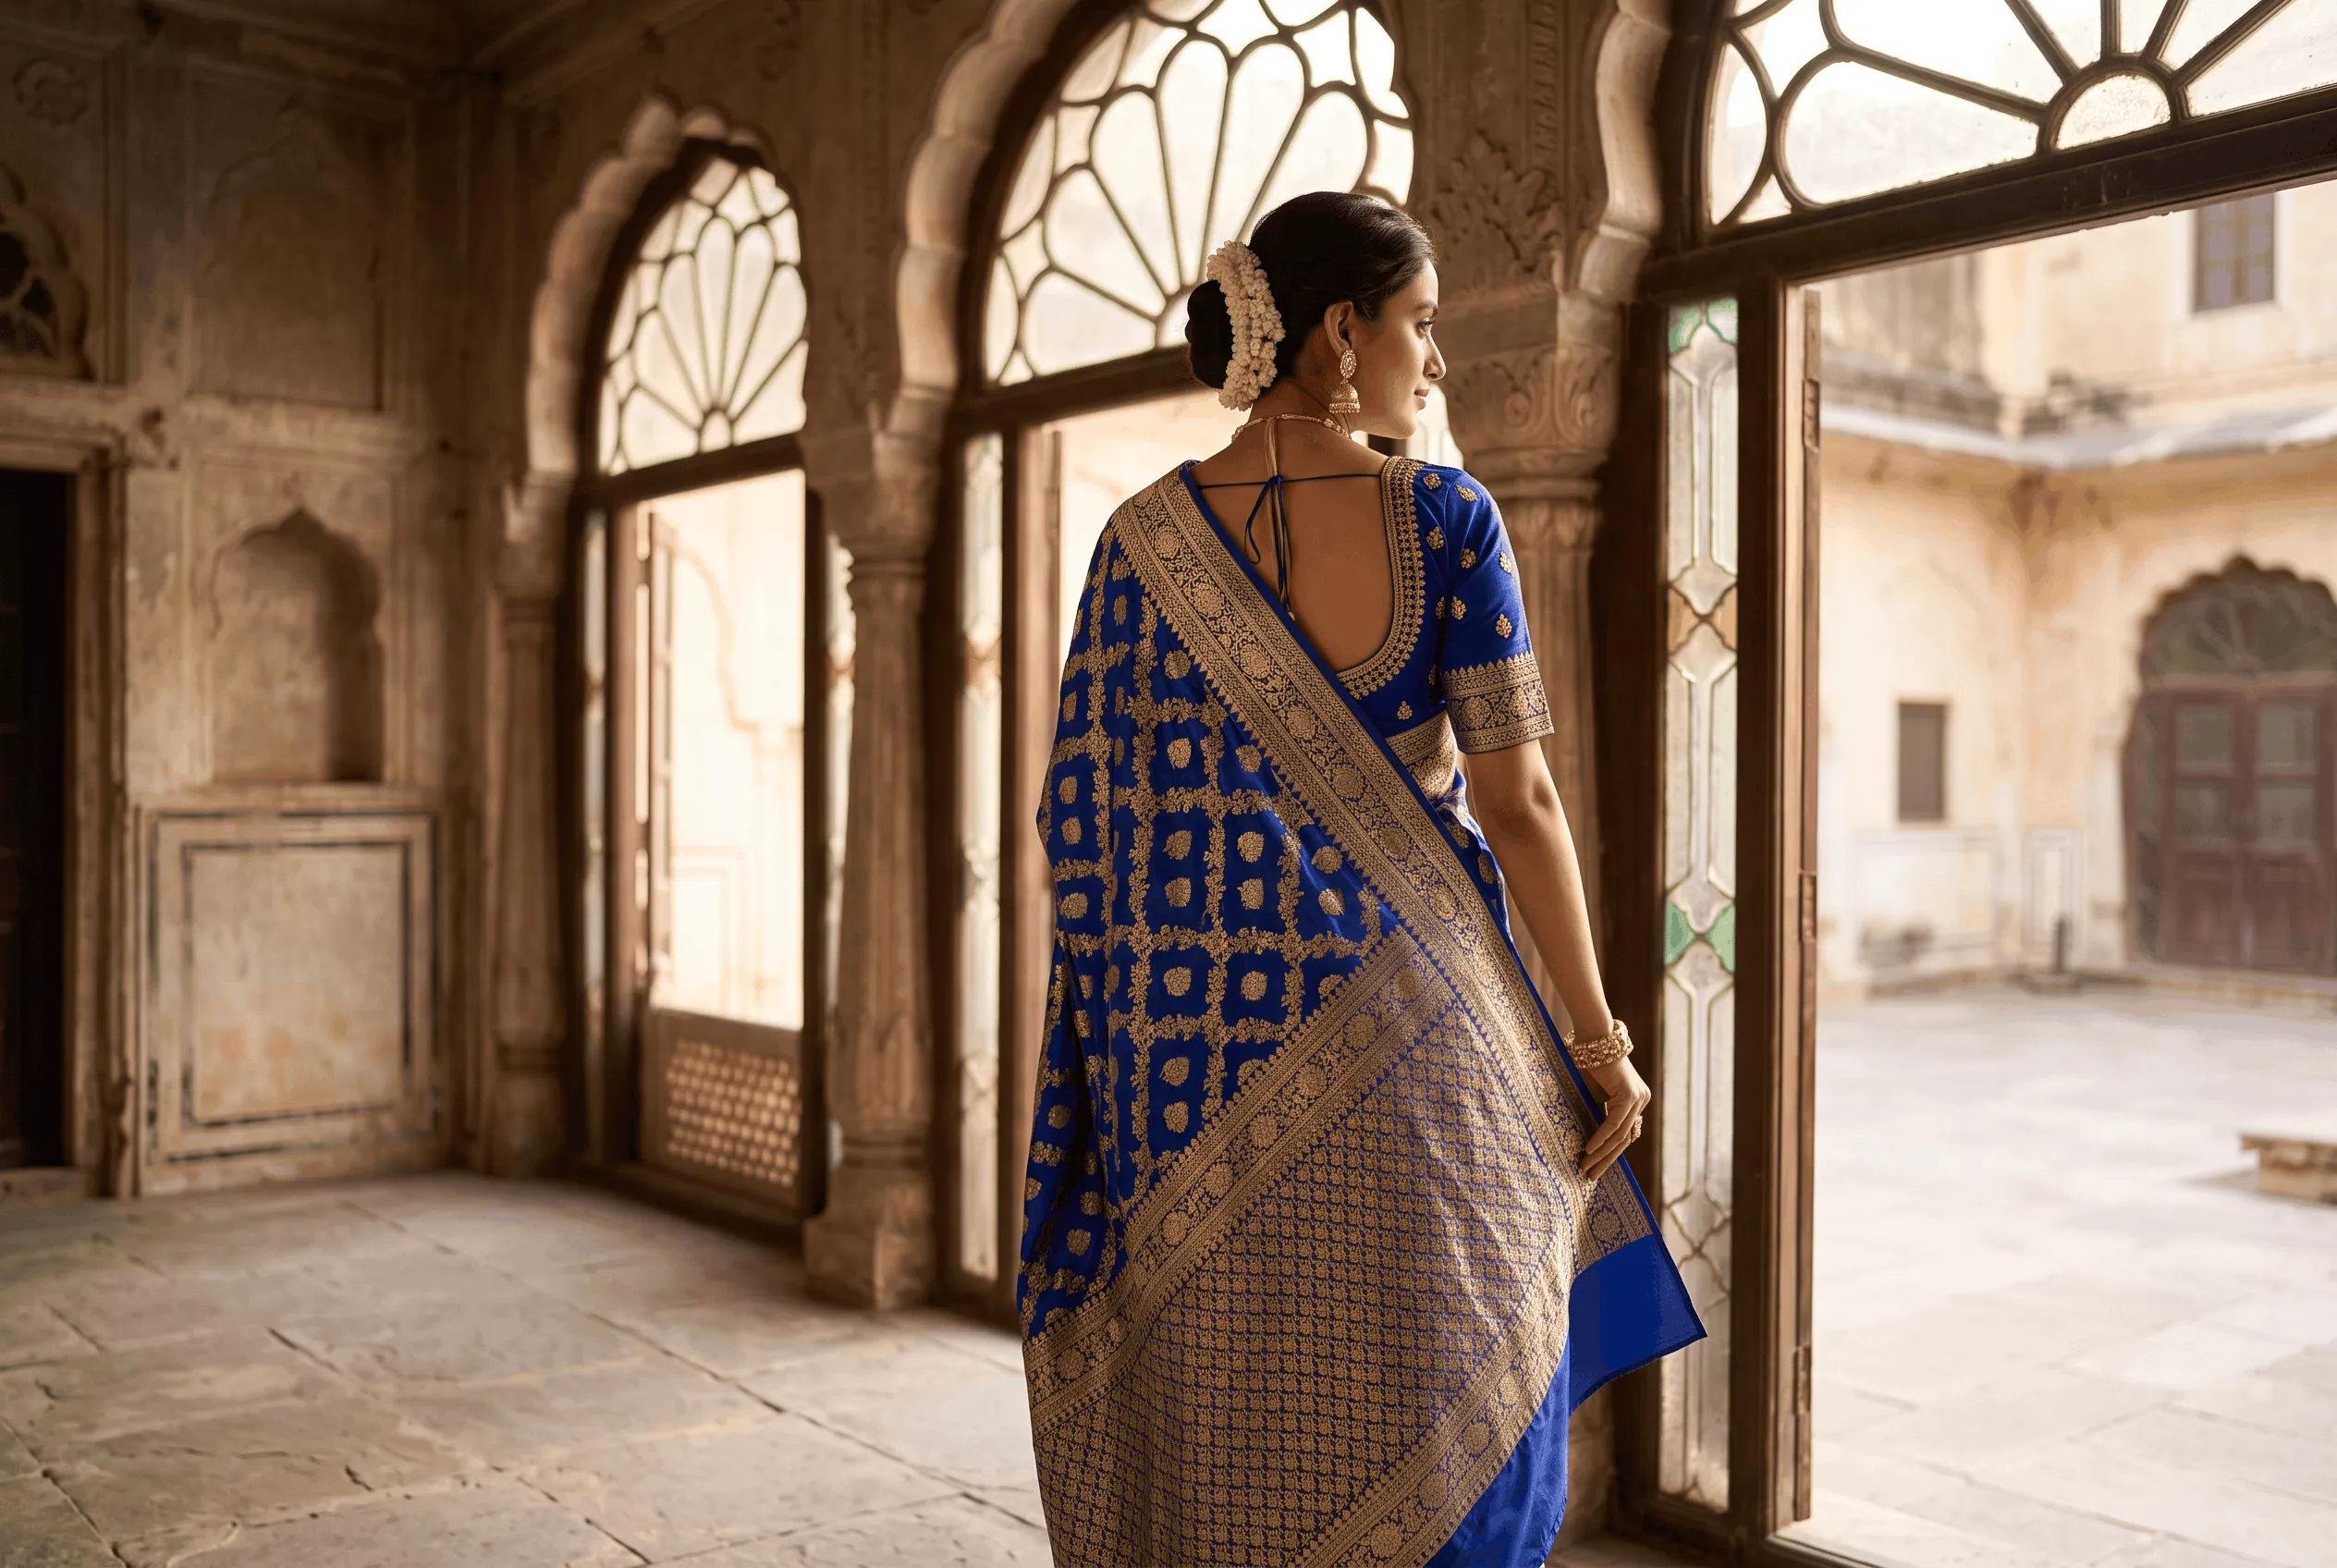
Let the pallu fall at the back to about knee length or slightly longer. For heavy pallus, a slightly shorter fall feels more secure.
Pin the pallu loosely to your blouse at the shoulder for now.
Step 4: Make the front pleats
Take the fabric between the waist and the shoulder and make five to seven pleats, each about 4–5 inches wide.
Because Banarasi silk is thicker, make slightly fewer and slightly wider pleats than you would for a light saree. This keeps the front neat rather than puffy.
Align the bottom of the pleats so they fall evenly at the hem.
Step 5: Pin and tuck the pleats
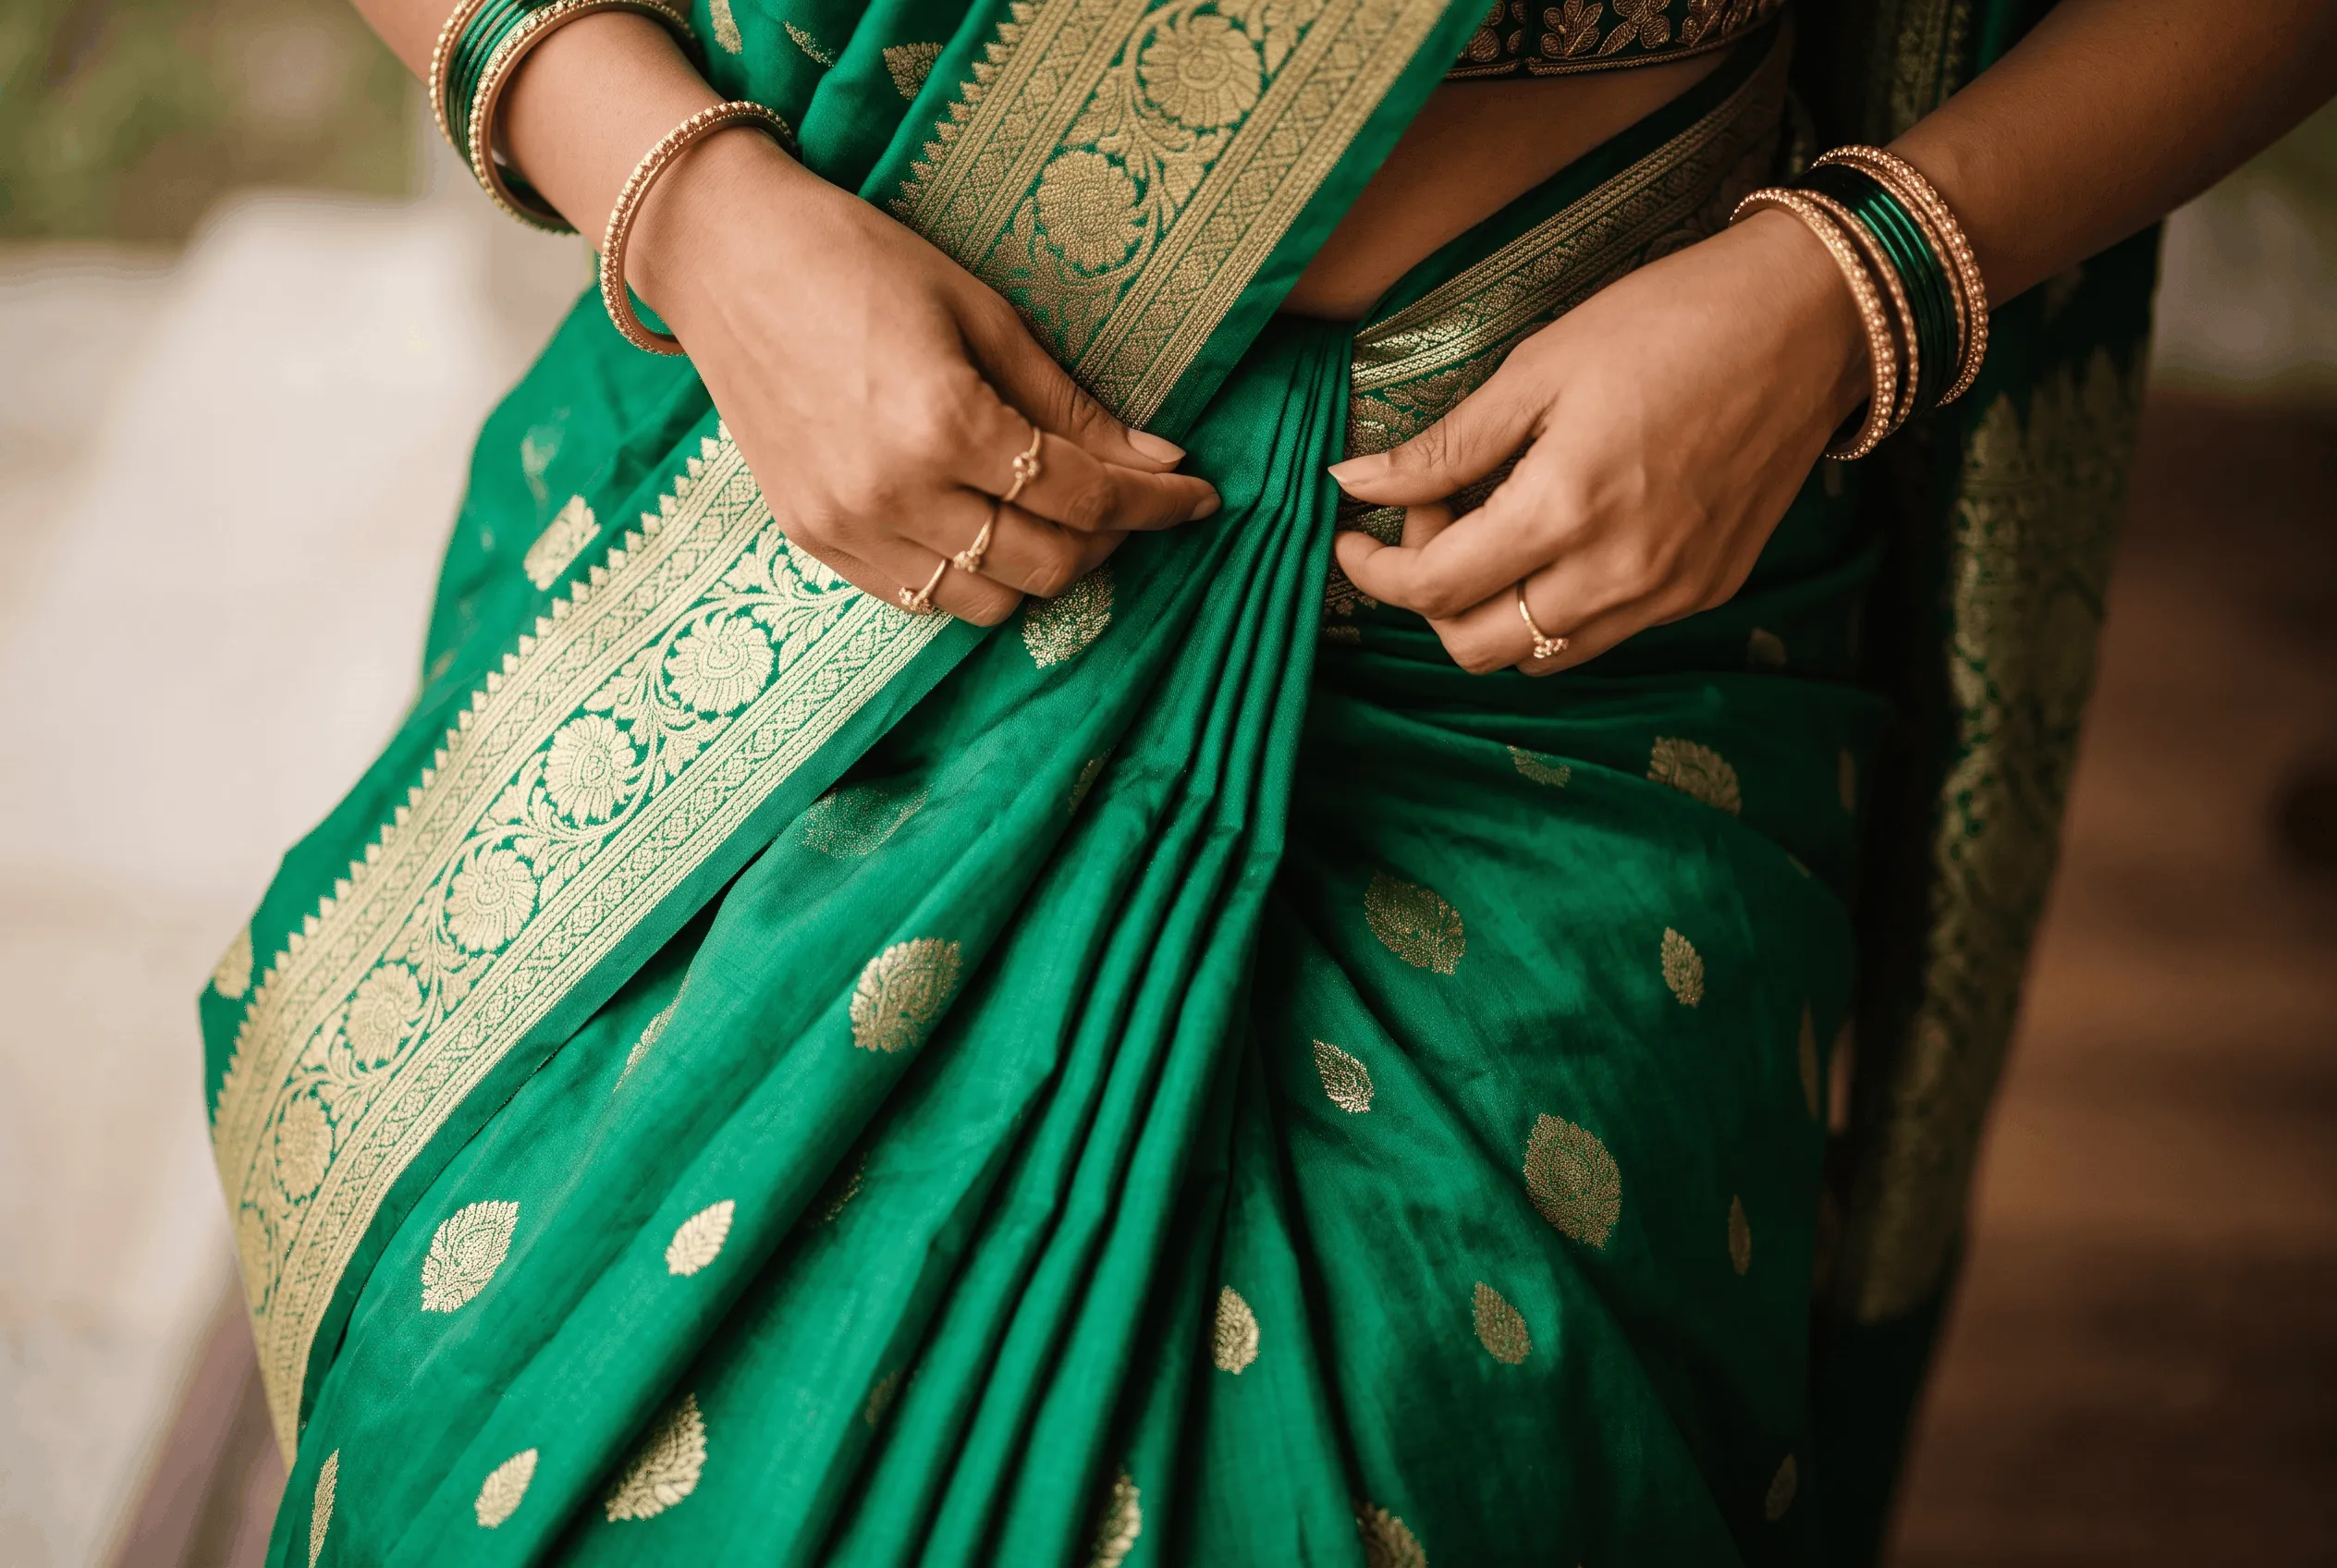
Hold the pleats together and fix them with a small safety pin about 5 inches below the top edge, on the inside.
Tuck the pleats into the petticoat slightly to the left of your navel, with the folds facing left.
Tuck firmly but not too deep, so the pleats fall straight.
Step 6: Finish the pallu
Decide how you want the pallu: pleated, open or semi-open (see below).
Adjust it neatly over the shoulder and secure it with a stronger pin from the inside of the blouse.
For a heavy pallu, add a second small pin a little lower on the blouse, so the weight is spread and the pallu does not drag the shoulder.
Step 7: Final adjustments
Smooth the fabric across the hips and check the hem one last time.
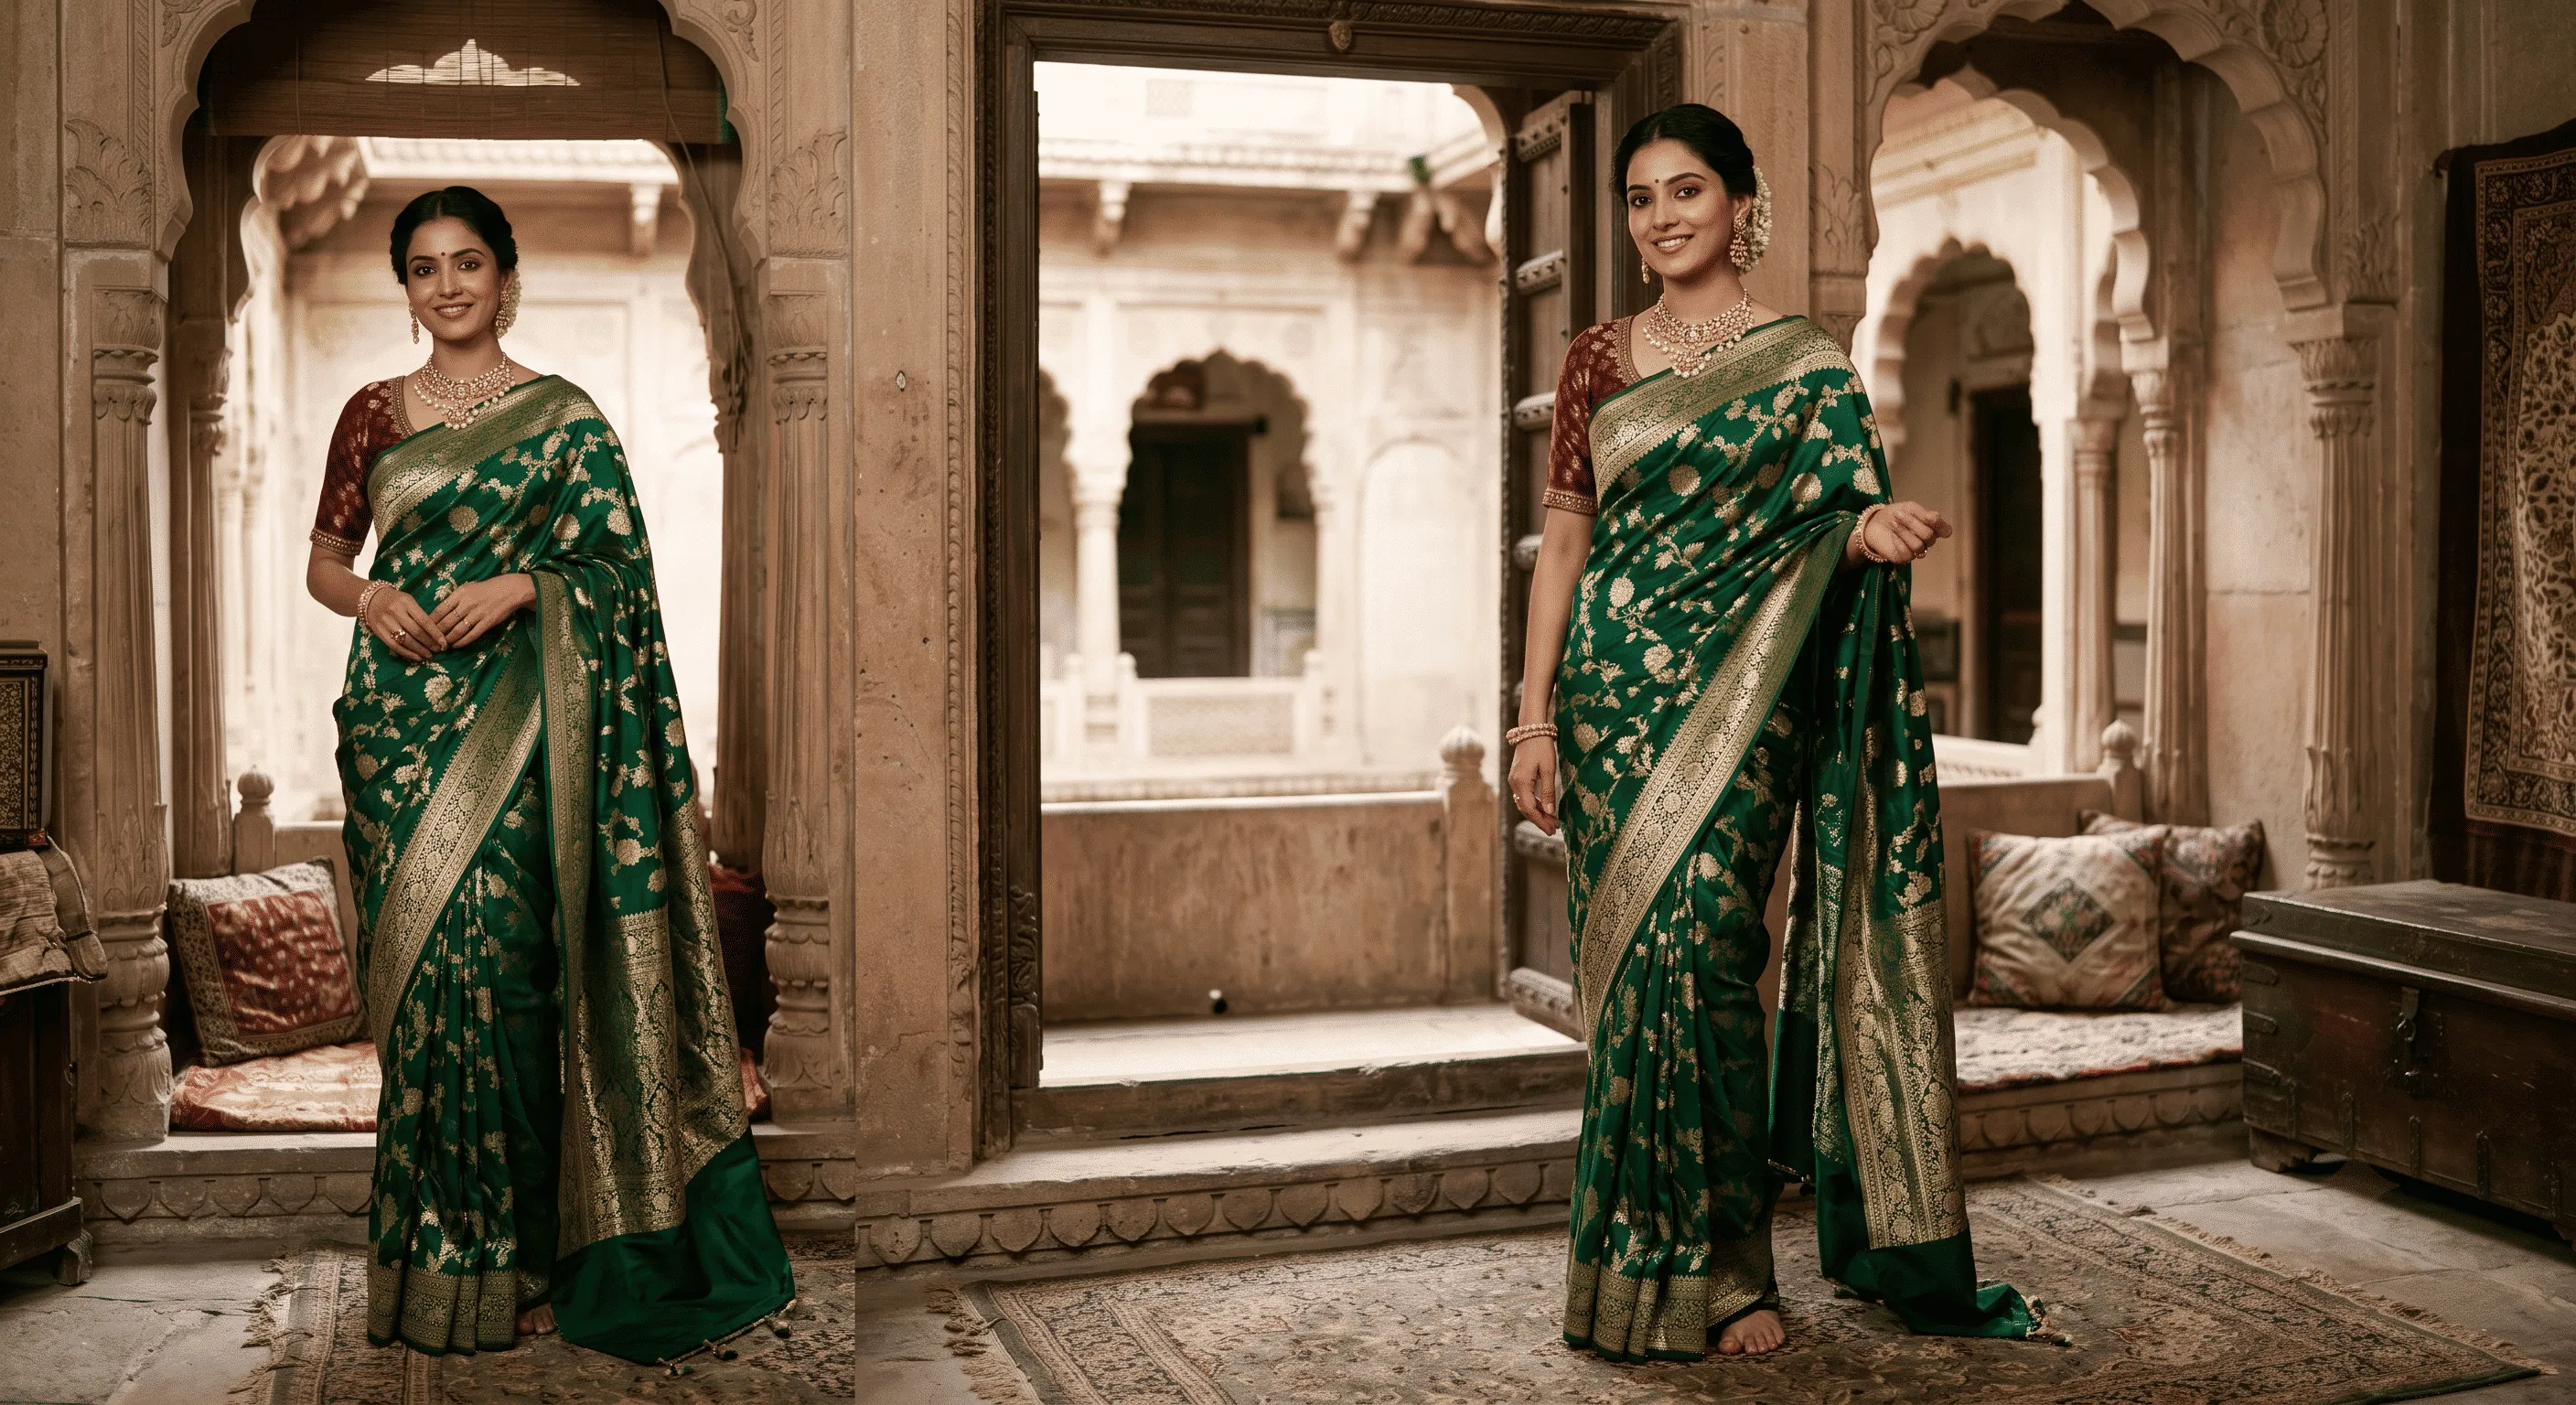
Make sure the pleats fall straight, the border lines up at the front and the pallu sits comfortably.
Walk a few steps and sit down once. If anything pulls, adjust before you leave.
Choosing the Pallu Style
Pleated pallu
Neat, formal and secure. It is ideal for heavy brocade pallus, long ceremonies and situations where you will move around a lot.
Open pallu
Lets the full design of the pallu show. It looks stunning in photos and is popular for receptions and weddings, but needs more care because it can slide.
Semi-open pallu
Pleat the top part and leave the lower part open. It shows off the pallu while staying manageable, which makes it a good compromise for weddings.
Pallu over both shoulders
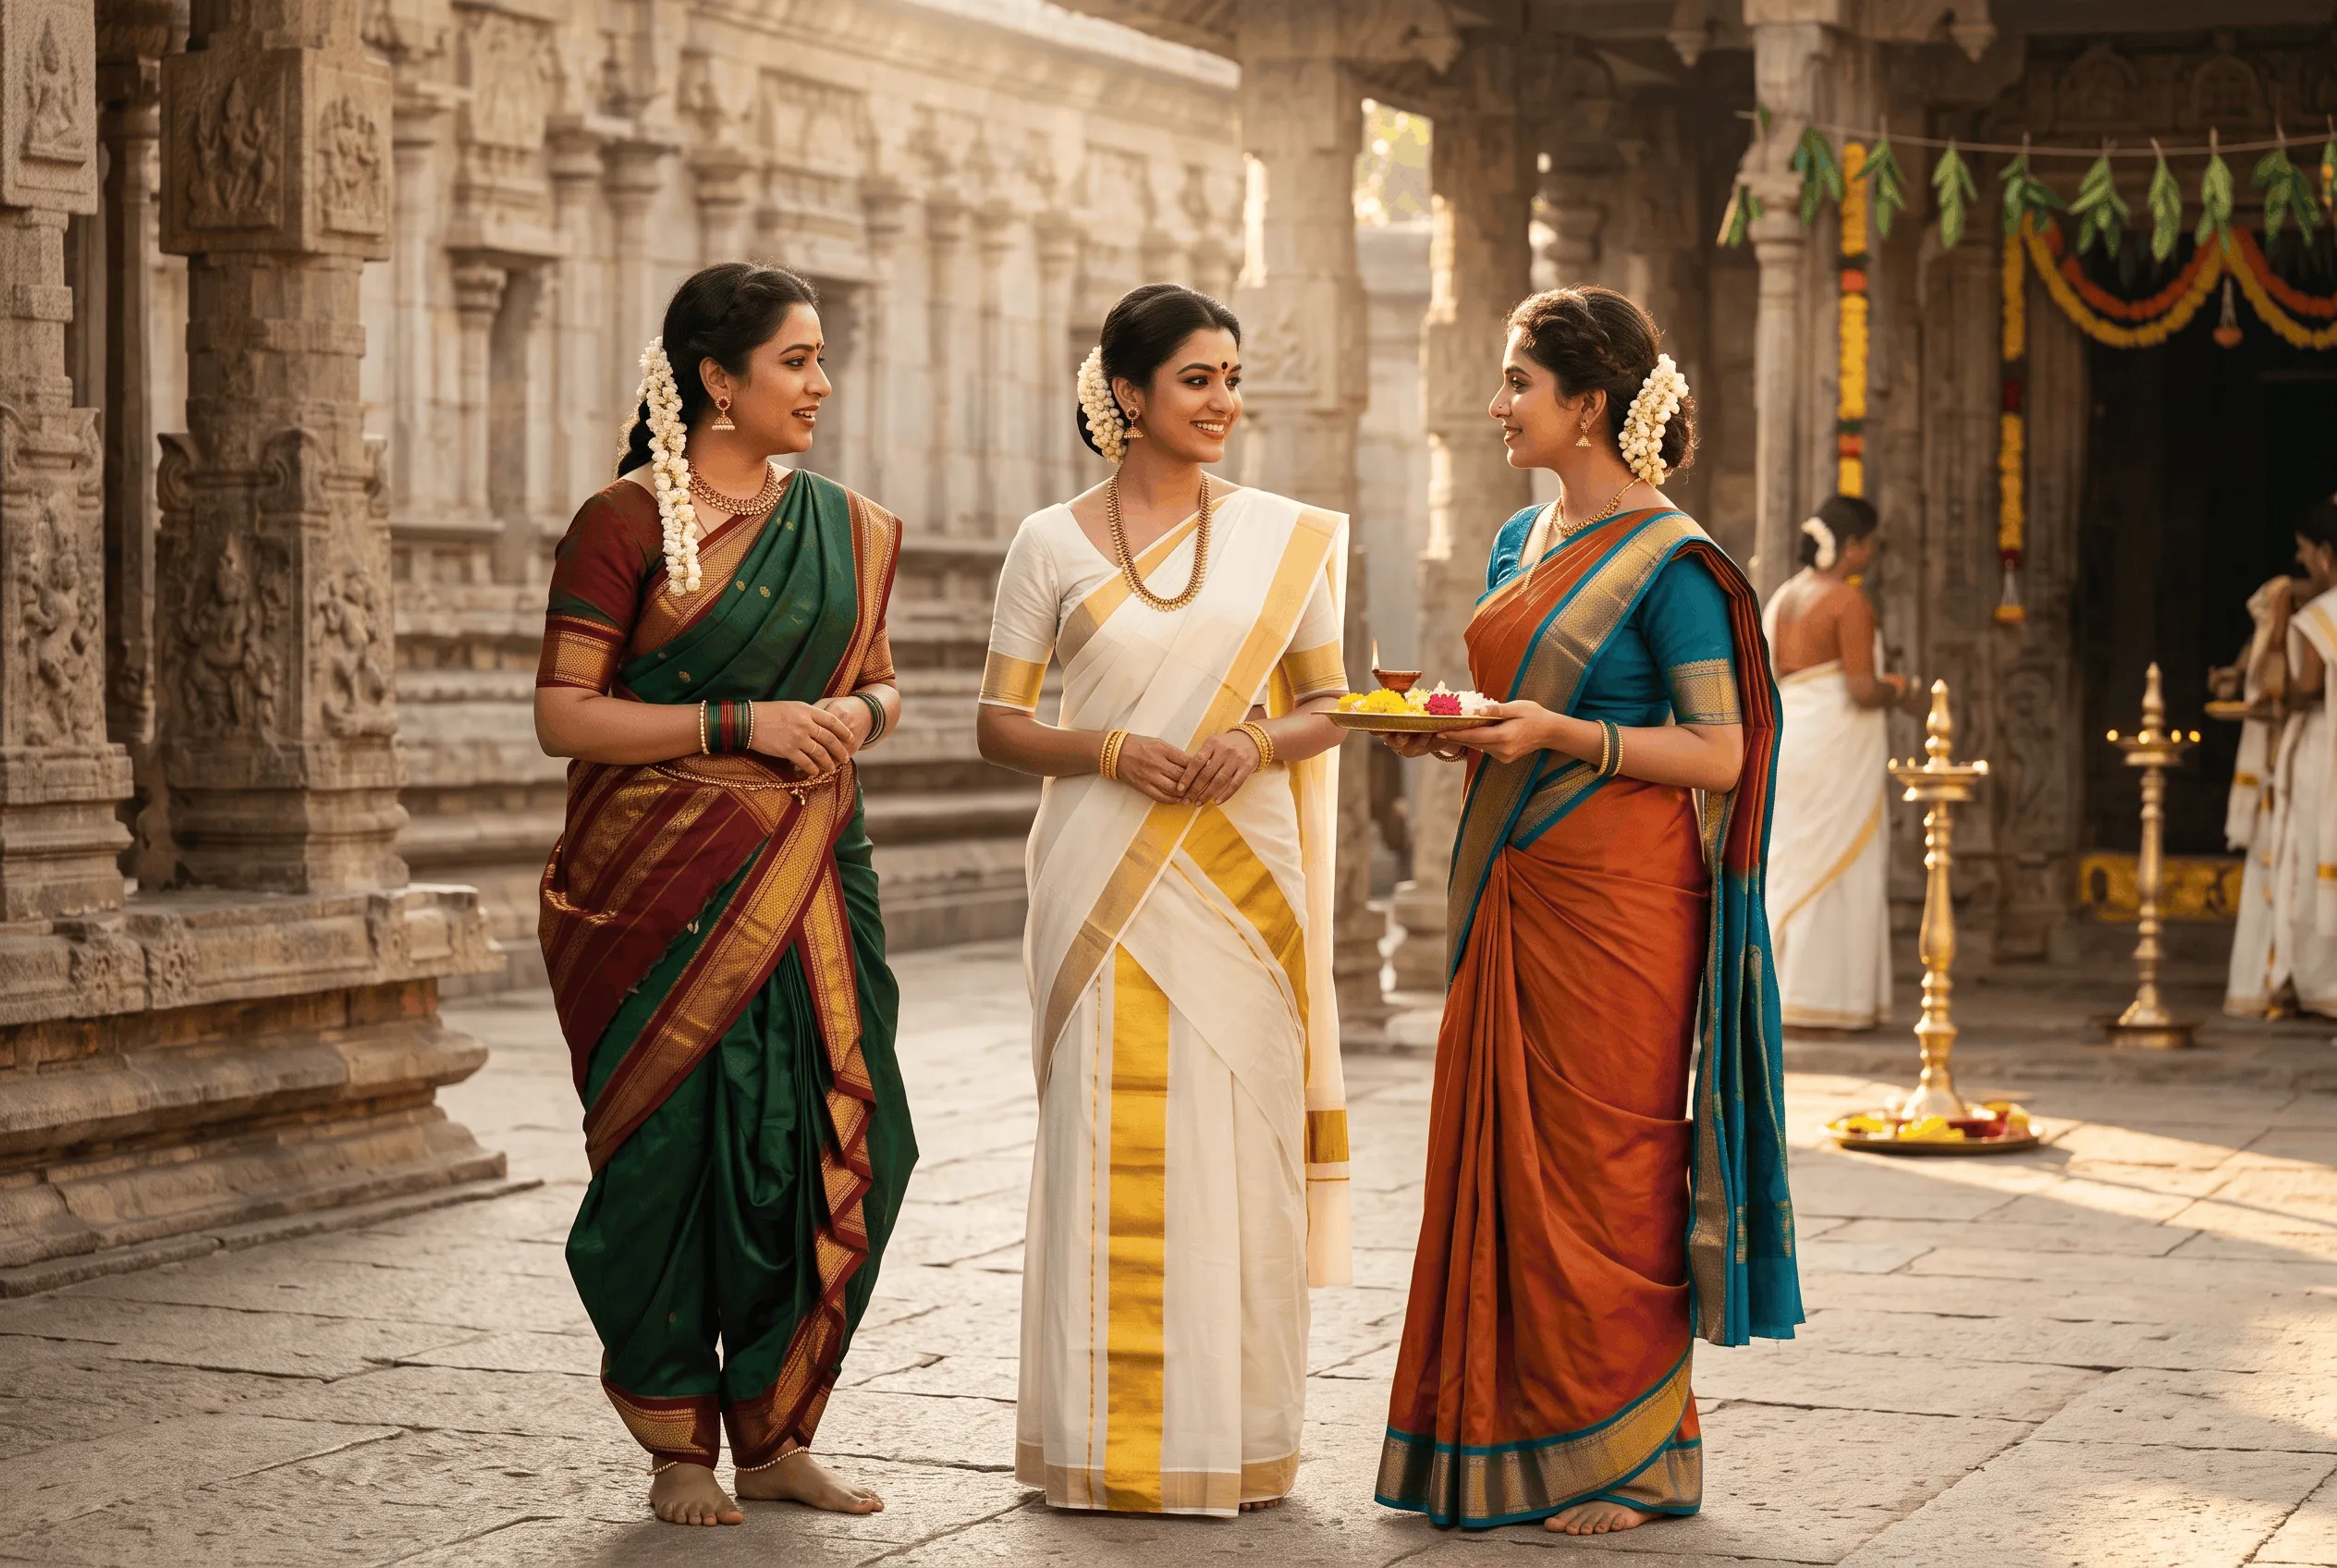
For temple visits, pujas or a traditional bridal look, the pallu can also be brought over the head or wrapped around the shoulders.
Tips for Heavy Katan and Brocade Banarasi
Use fewer, wider pleats to reduce bulk.
Iron the pleats in advance and pin them overnight.
Use a cotton petticoat that grips the fabric.
Spread the weight of the pallu with two pins instead of one.
Choose a blouse with structured shoulders for support.
Avoid tucking extra fabric at the waist; let it fall into the pleats instead.
Tips for Lighter Banarasi Weaves
Organza, georgette and lighter katan Banarasi sarees drape more easily.
You can make more, narrower pleats for a fluid look, and an open pallu works beautifully.
Pin the pleats well, because lighter fabrics can shift during movement.
Choosing the Right Blouse
A well-fitted blouse makes draping easier and finishes the look.
For weddings: a brocade or contrast silk blouse with elbow sleeves.
For receptions: a sweetheart, boat-neck or corset blouse. See our corset blouse design guide.
For a classic look: a high-neck blouse. See our high neck blouse designs.
Make sure the shoulder seam sits correctly, as the pallu rests on it.
Jewellery and Accessories
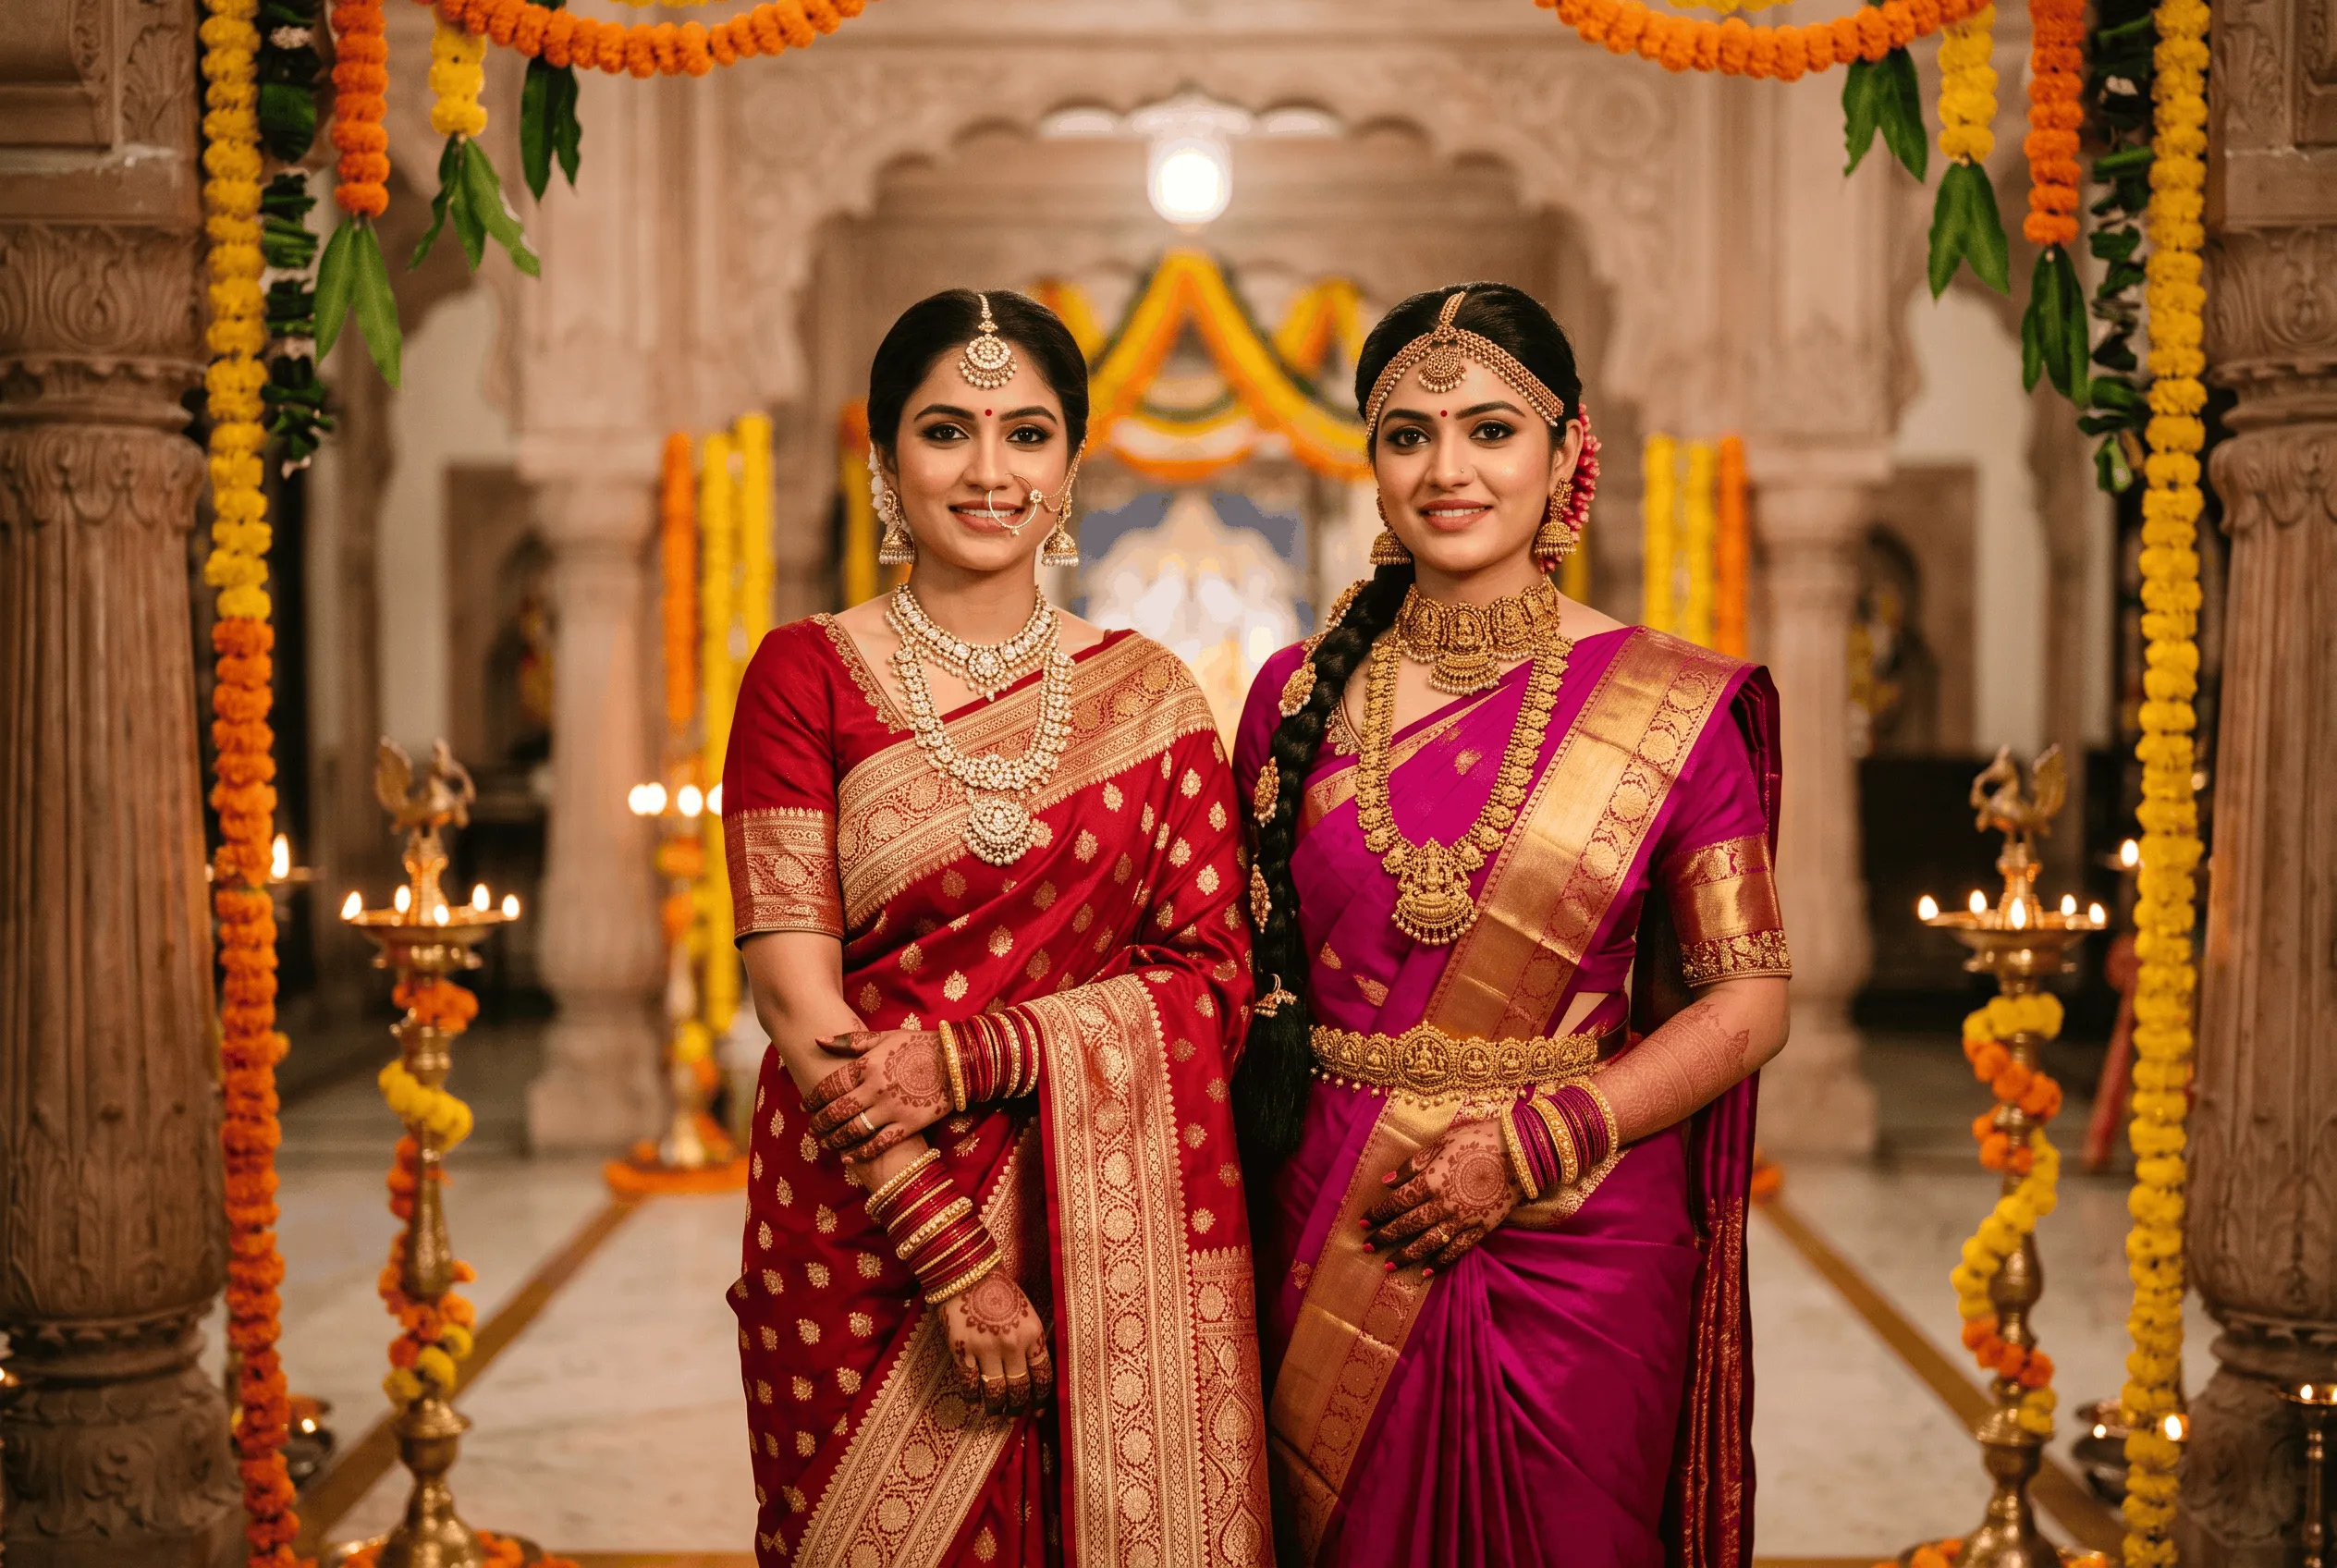
Banarasi sarees suit gold, temple, kundan and polki jewellery.
A statement necklace works well with an open pallu, while long earrings suit a pleated pallu.
A waist belt or kamarbandh can hold a heavy saree in place and adds a traditional touch.
See our jewellery pairing guide for silk sarees.
Draping a Banarasi Saree for Different Occasions
Wedding ceremonies: Nivi drape with a pleated or semi-open pallu and gold jewellery.
Receptions: open pallu with a modern blouse.
Festivals and pujas: classic drape with the pallu over the shoulder or head.
Bridal looks: many brides choose a draped dupatta over the head along with the saree.
Common Draping Mistakes
Too many pleats: heavy silk becomes bulky.
Hem too long: the saree drags and the zari border can be damaged.
One pin for a heavy pallu: the pallu slips or pulls the blouse.
Satin petticoat: silk slides on it.
Ironing zari directly: this can tarnish or flatten it.
Alternative Drapes for Banarasi Sarees
Banarasi sarees are not limited to the Nivi drape.
Gujarati or seedha pallu: the pallu is brought to the front over the right shoulder, showing off the pallu design.
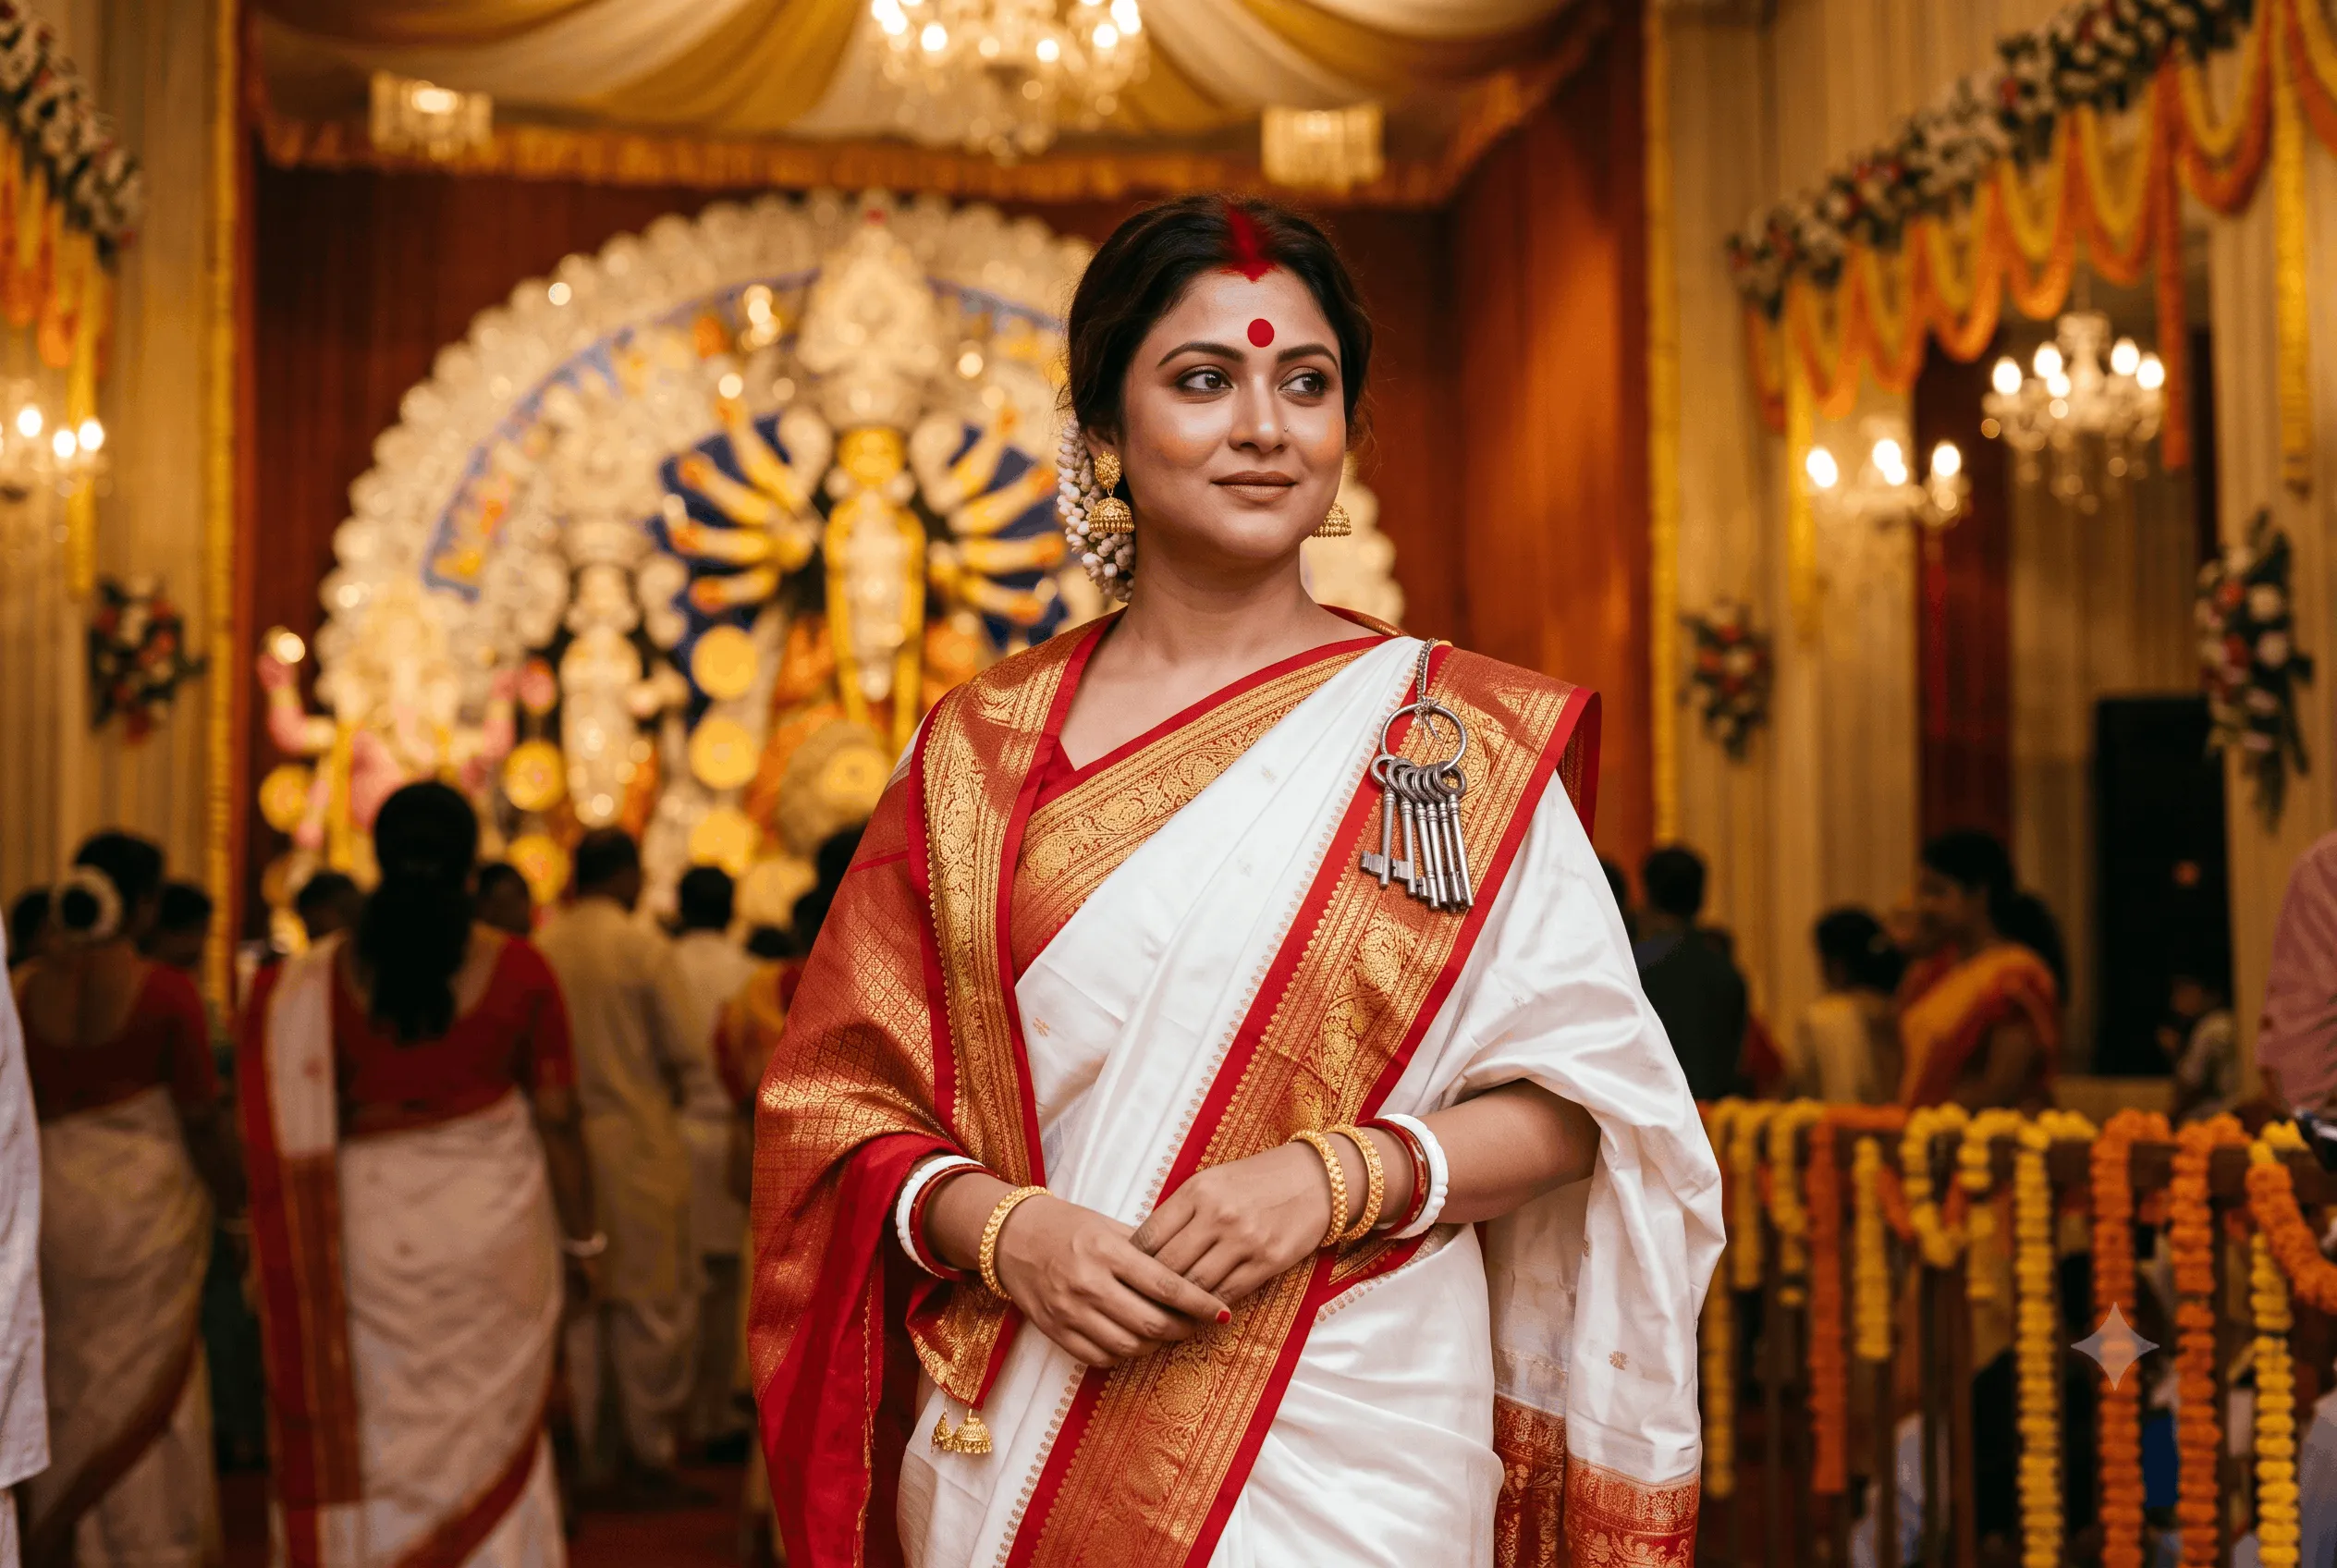
Bengali style: wide box pleats and the pallu over the left shoulder with a key bunch.
Lehenga-style drape: pleats arranged all around the waist for a lehenga look.
Our guide to saree draping styles: Nivi, Bengali and Gujarati shows these drapes in detail, and the Nivi drape tutorial covers the basics for beginners.
How Long Does It Take?
For beginners, the first drape may take 20–30 minutes. With practice, most women manage a neat Nivi drape in 10 minutes.
Pre-pleating and pinning the night before saves a lot of time on the day.
Taking the Saree Off and Storing It
Remove the pins carefully so they do not snag the silk or zari.
Air the saree for a few hours before folding it.
Fold it with acid-free tissue between the folds and store it in a muslin cloth.
Refold every few months so permanent creases do not form along the zari. See our silk saree care guide.
Draping Your Banarasi With Confidence
Draping a Banarasi saree is easier when you respect its weight and structure.
Prepare the saree in advance, use fewer and wider pleats, support the pallu with two pins and choose a blouse that fits well at the shoulders.
With a little practice, you will be able to drape your Banarasi saree neatly and comfortably for weddings, festivals and every special occasion.
Explore more in our Banarasi brocade for weddings guide, our zari silk guide and the traditional wear trends 2026 guide.
Comments (0)
Leave a Thought
No comments yet. Be the first to share your thoughts!