If you are wearing a saree for the first time, the Nivi drape is the best place to start.
It is the most popular saree drape in India, worn in offices, colleges, weddings and receptions across the country. It originated in Andhra Pradesh and became the standard way of wearing a saree in the twentieth century.
The Nivi drape looks graceful, allows easy movement and works with almost every saree fabric, from light georgette and cotton to heavy silk.
This beginner-friendly Nivi drape tutorial walks you through each step, from choosing a petticoat to fixing the pallu, and shares tips for neat pleats, common mistakes and how to adapt the drape for different fabrics and occasions.

What You Need
A saree: for your first try, choose a light georgette, chiffon, crepe or soft cotton saree. They are easier to pleat than heavy silk.
A petticoat: a well-fitted cotton petticoat in a matching colour, tied firmly at the waist.
A blouse: a comfortable, well-fitted blouse.
Footwear: wear the shoes you will wear with the saree, because they decide the hem length.
Safety pins: three to five small pins.
A mirror: ideally full-length.
Understand the Parts of a Saree
The plain end: the end you start tucking from.
The body: the main length that wraps around you and forms the pleats.
The pallu: the decorated end that goes over your shoulder.
The border: the edge along the length of the saree.
Before you start, hold the saree so the border is at the bottom and the pallu is at the far end.
The Nivi Drape in 10 Steps
Step 1: Tie the petticoat firmly
Tie the petticoat at your natural waist or slightly below the navel. It should be firm, because it holds the entire saree.
Step 2: Start the tuck
Hold the plain end of the saree with the inside facing you.
Tuck the top edge into the petticoat at your right hip, slightly behind the side seam.
Step 3: Wrap once around
Take the saree around your back to the left, then around the front, tucking the top edge into the petticoat as you go, until you come back to the right hip.
Step 4: Check the hem
The hem should just touch the top of your footwear and be level all the way around. Adjust the tuck if needed.
Step 5: Prepare the pallu
Take the remaining fabric, including the pallu, across your front, under your right arm, around your back and over your left shoulder.
Let the pallu fall behind you to around knee length.
Pin it loosely at the shoulder for now.
Step 6: Make the pleats
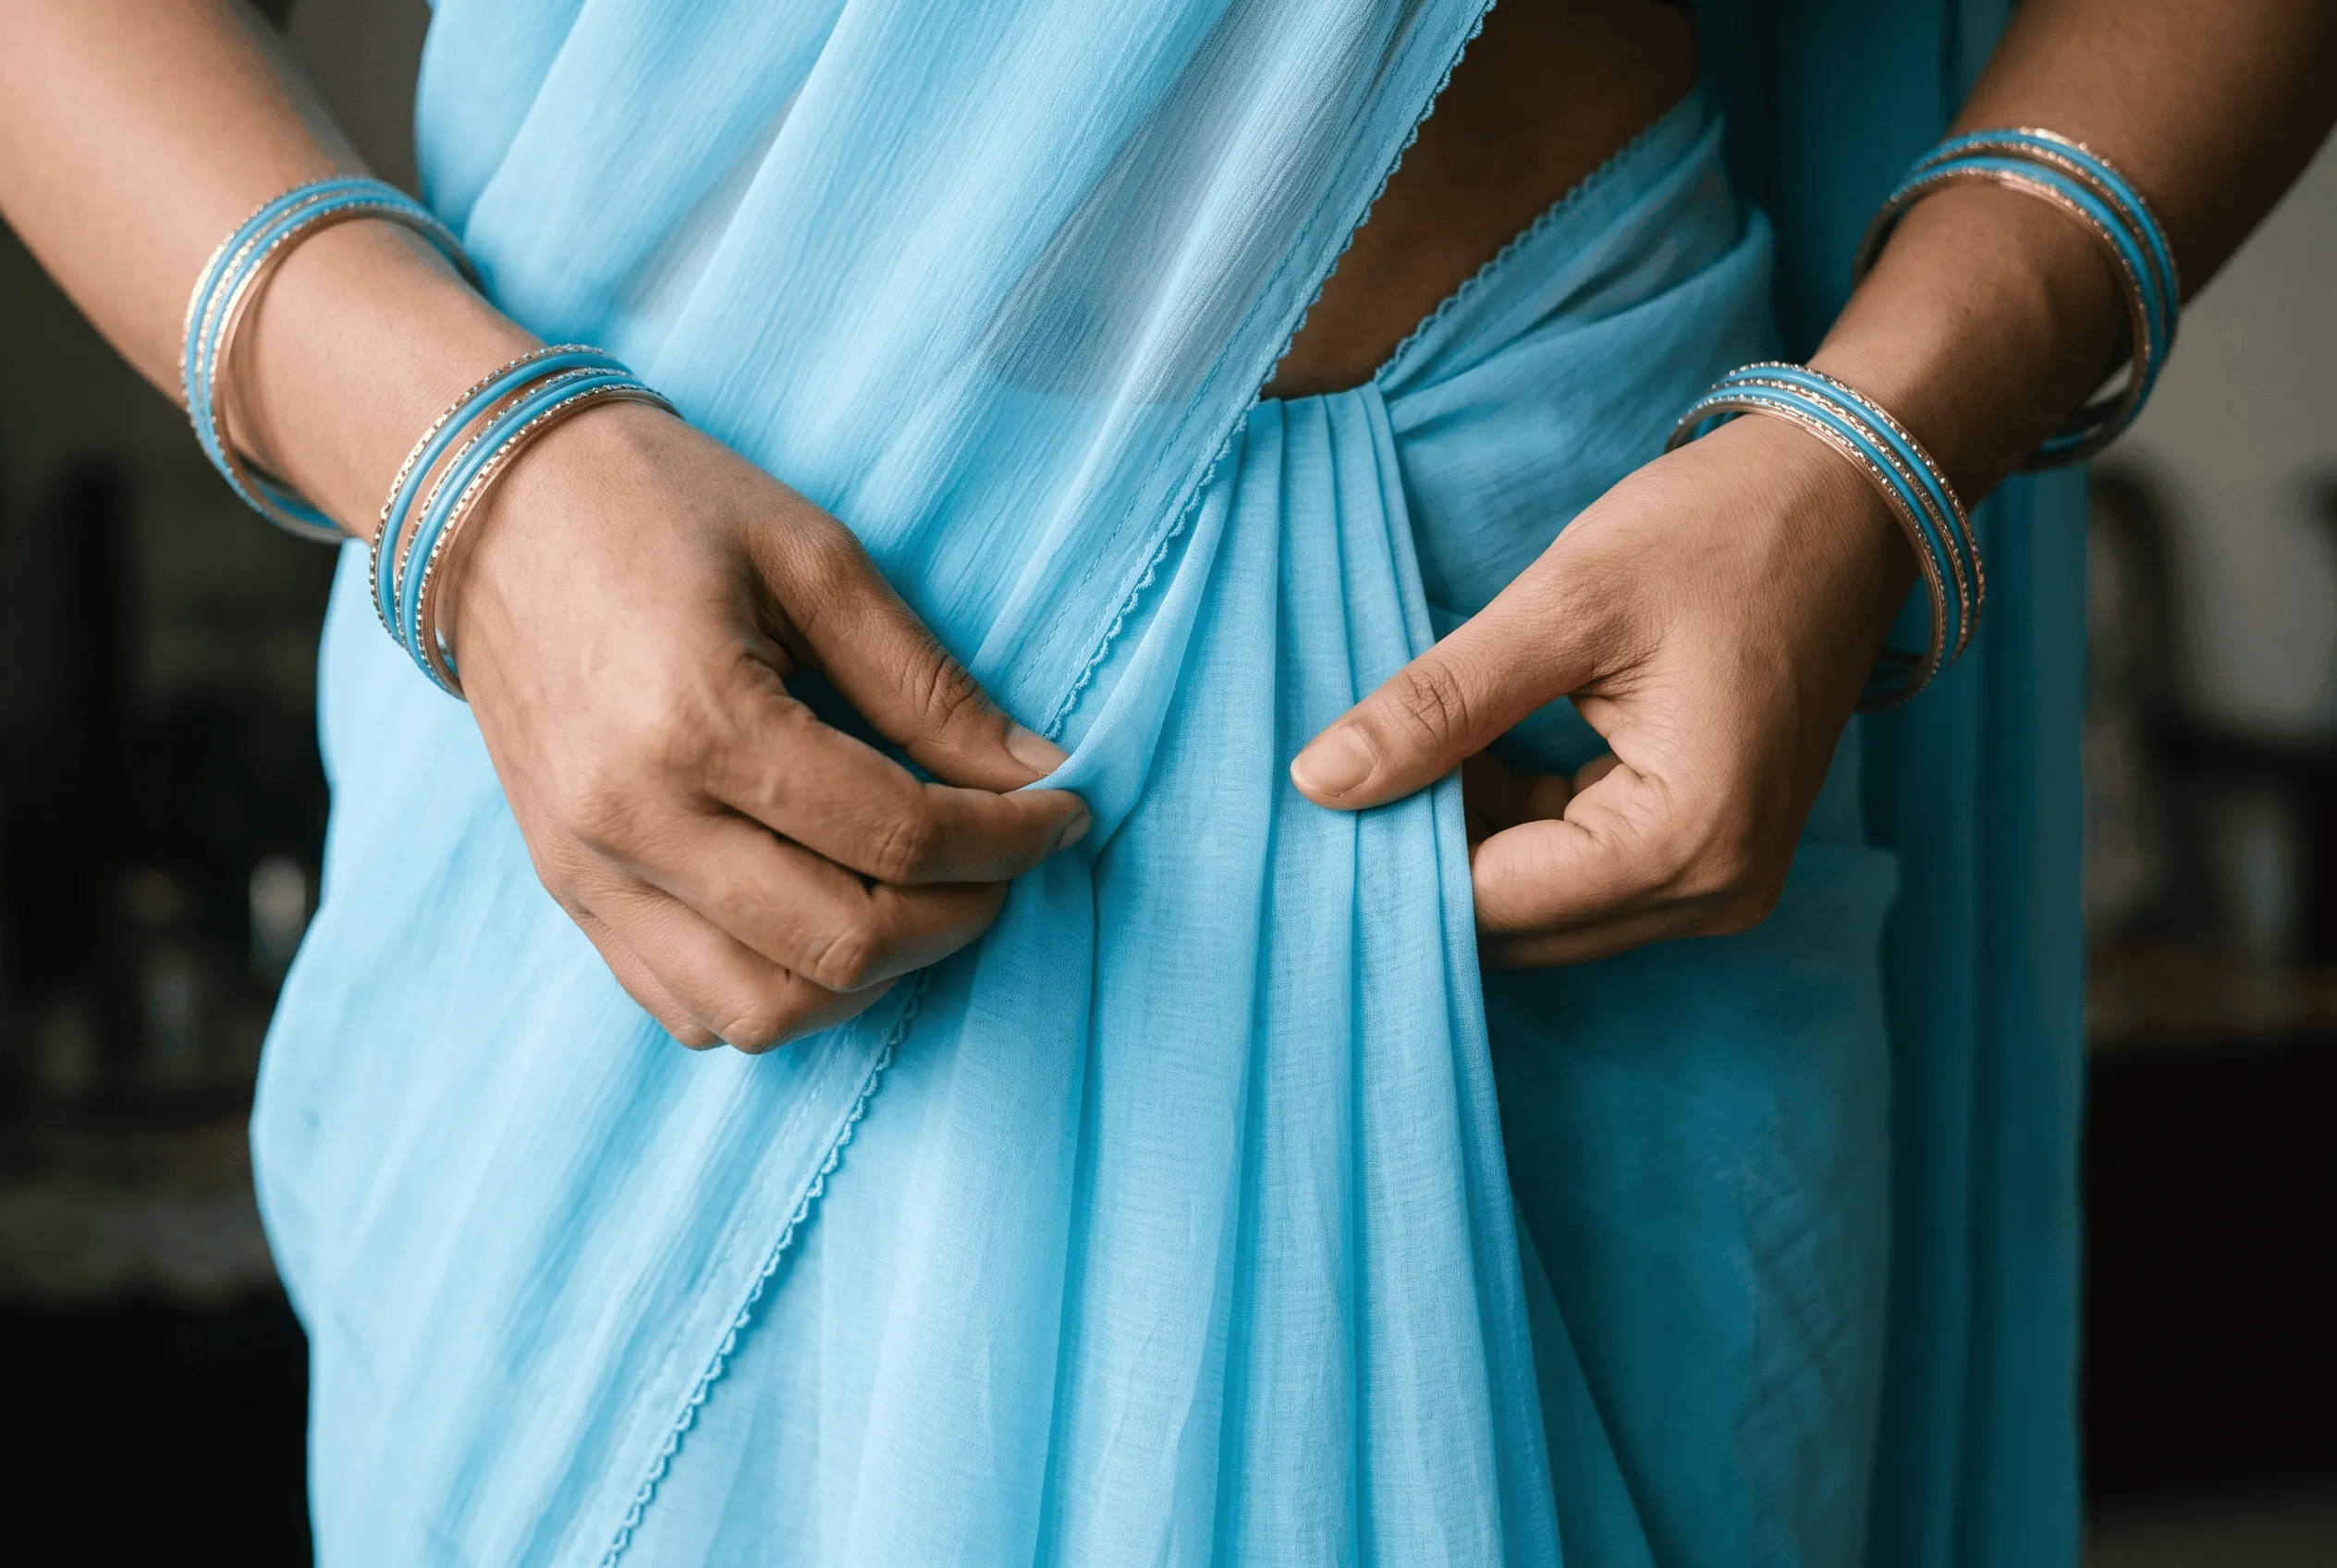
Take the fabric between the waist and the pallu and make five to seven pleats, each about 4–5 inches wide.
Use your thumb and little finger to hold the pleats as you fold them, like an accordion.
Make sure the bottoms of the pleats line up evenly at the hem.
Step 7: Pin the pleats
Hold the pleats together and pin them on the inside, about 5 inches below the top edge.
This stops them from opening while you tuck them in.
Step 8: Tuck the pleats
Tuck the pleats into the petticoat slightly to the left of your navel, with the folds facing left.
Push them in firmly but not too deep, so the pleats fall straight.
Step 9: Fix the pallu
Decide whether you want a pleated or open pallu.
For a pleated pallu, fold the pallu into neat pleats about 3–4 inches wide and pin them at the shoulder.
For an open pallu, spread it neatly behind you and pin it at the shoulder.
Secure the pallu to your blouse from the inside so the pin is hidden.
Step 10: Final check
Smooth the fabric over your hips.
Check the pleats fall straight and the border lines up.
Walk a few steps and sit down once to make sure nothing pulls.
Tips for Perfect Pleats
Keep pleats even: equal widths look neatest.
Iron pleats in advance: especially for cotton and silk.
Use fewer pleats for heavy fabrics and more for light fabrics.
Face pleats to the left: this is the standard Nivi style.
Don't tuck too deep: pleats bunch up and look bulky.
Pleated vs Open Pallu
Pleated pallu: neat and secure, ideal for office, long events and when you will be moving a lot.
Open pallu: elegant and shows off the pallu design, ideal for weddings, receptions and photos.
Semi-open pallu: pleat only the top part at the shoulder and leave the rest open, a good compromise.
Adapting the Nivi Drape for Different Fabrics
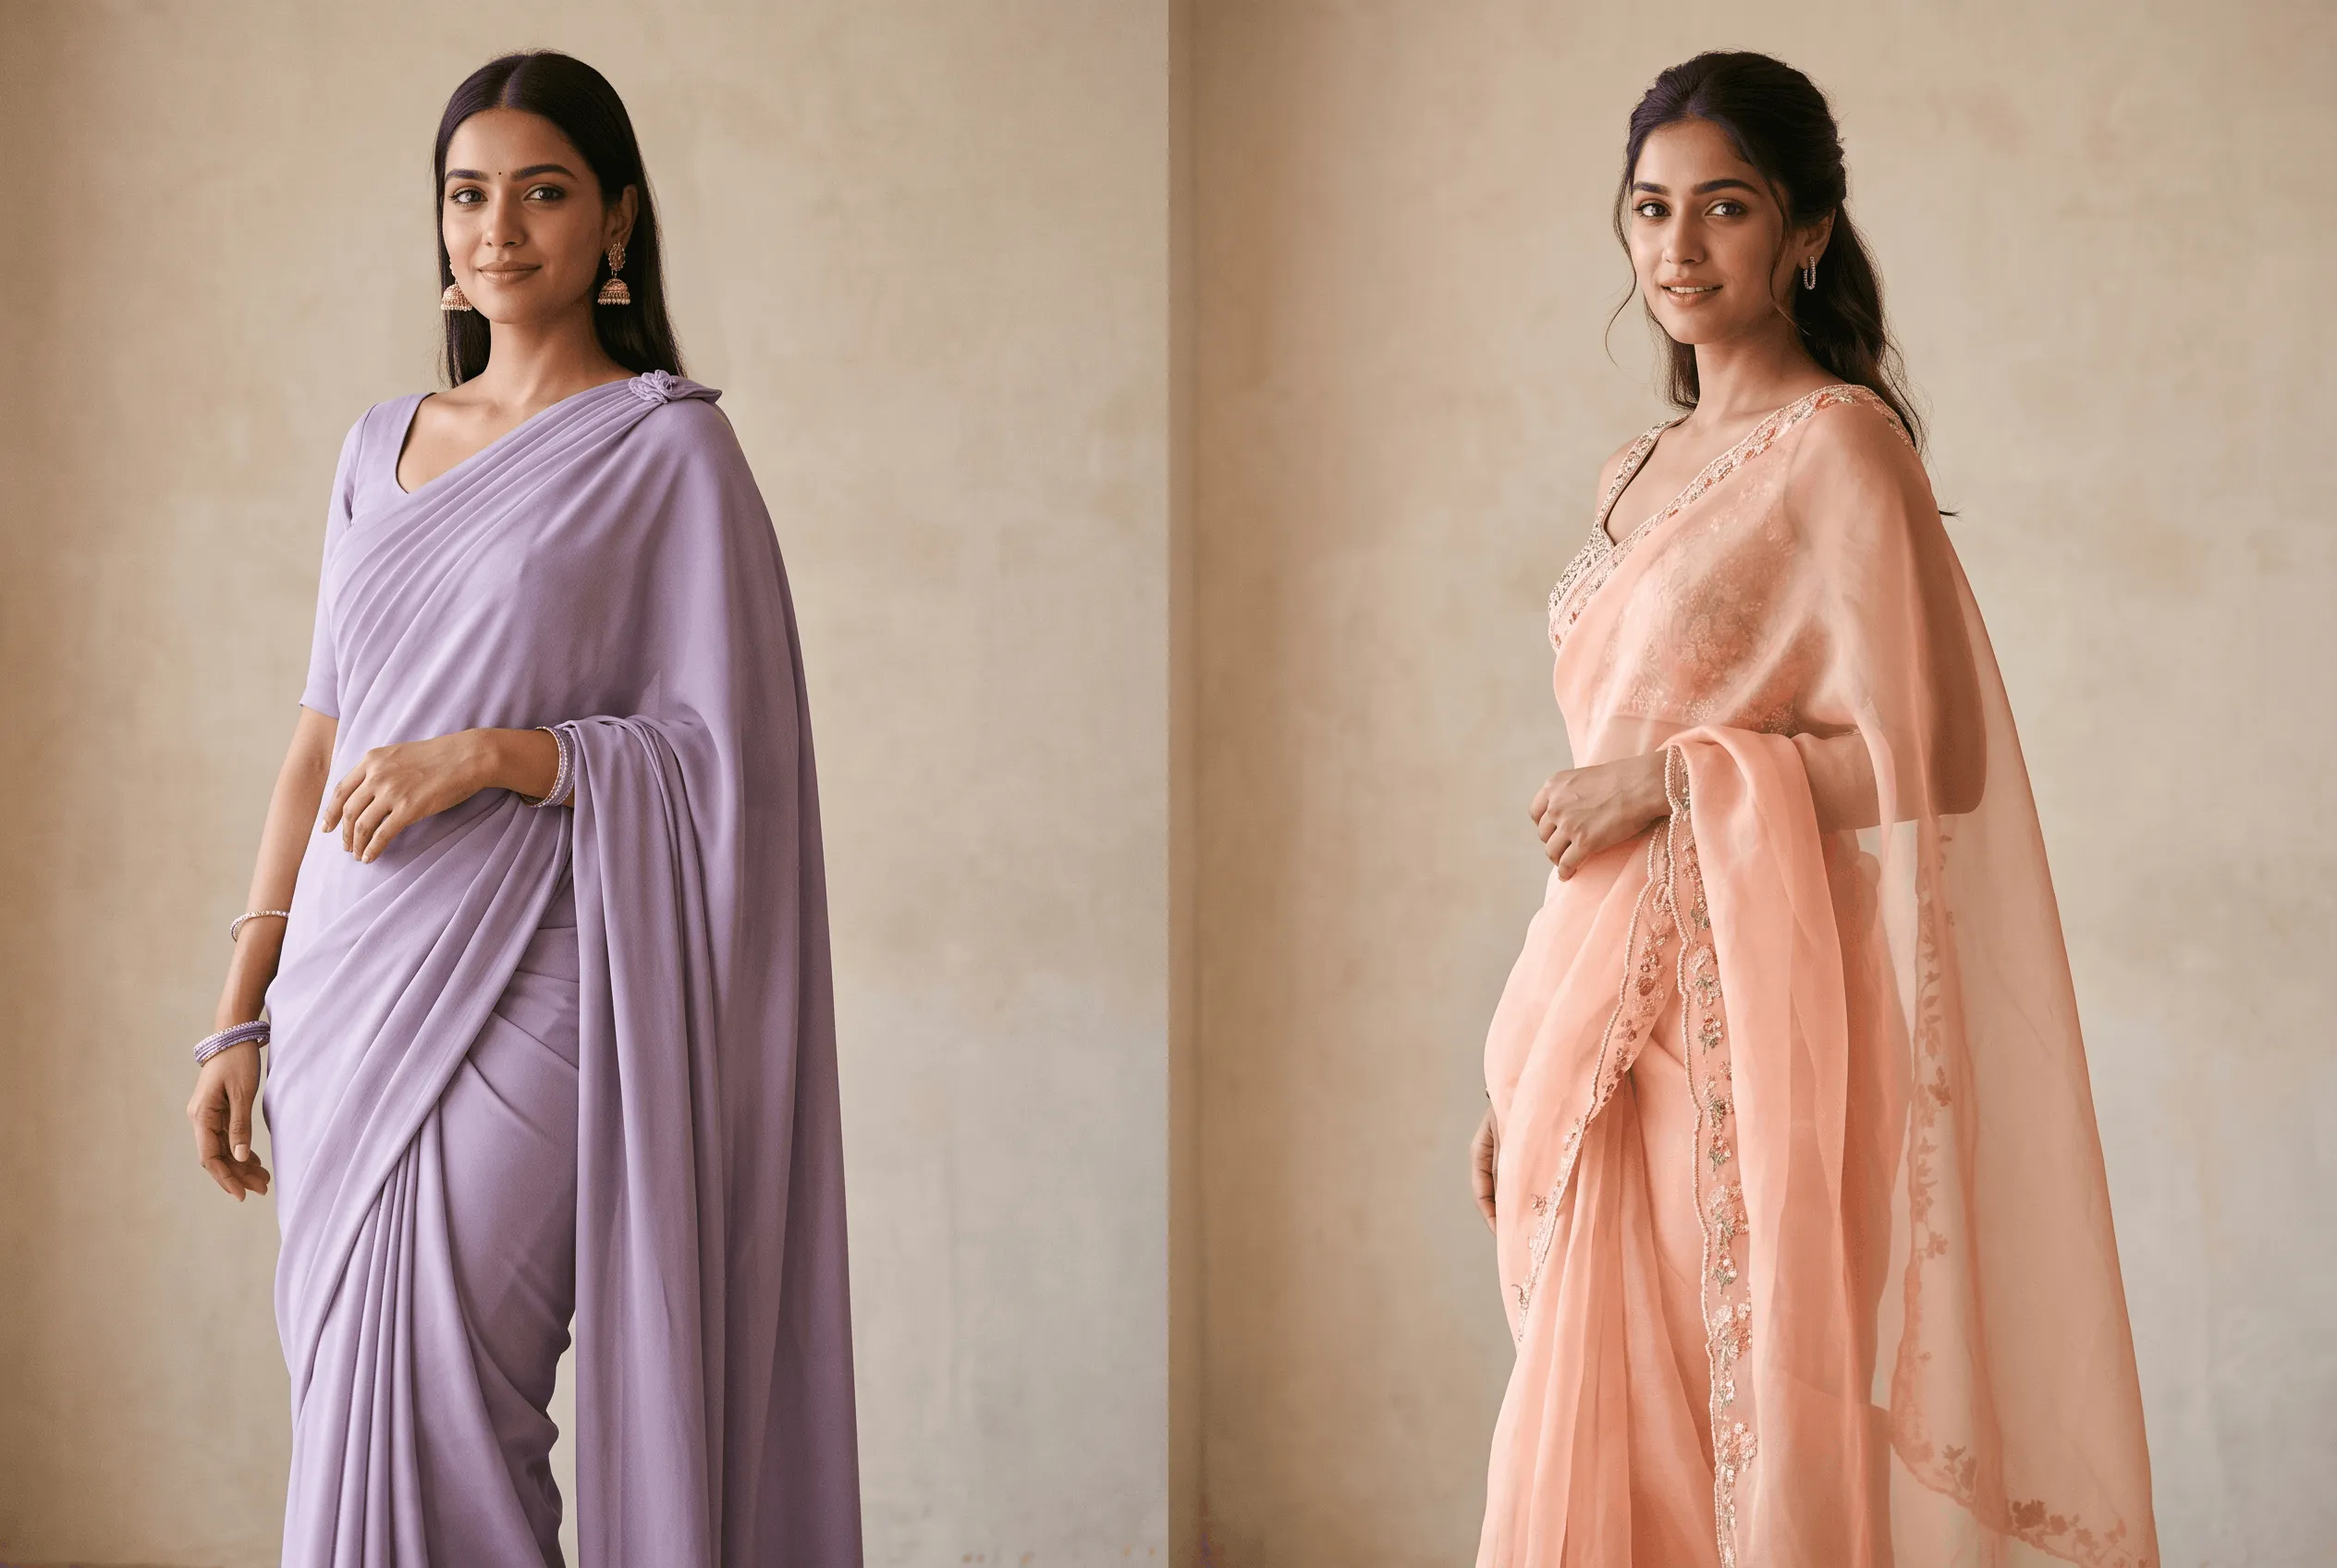
Georgette and chiffon: easy to pleat but slippery, so pin pleats and pallu securely. See our chiffon sarees guide.
Crepe: fluid and forgiving, great for beginners. See our crepe fabric guide.
Cotton: starch lightly and iron pleats so they hold.
Silk: fewer, wider pleats and a firm pin for the pallu.
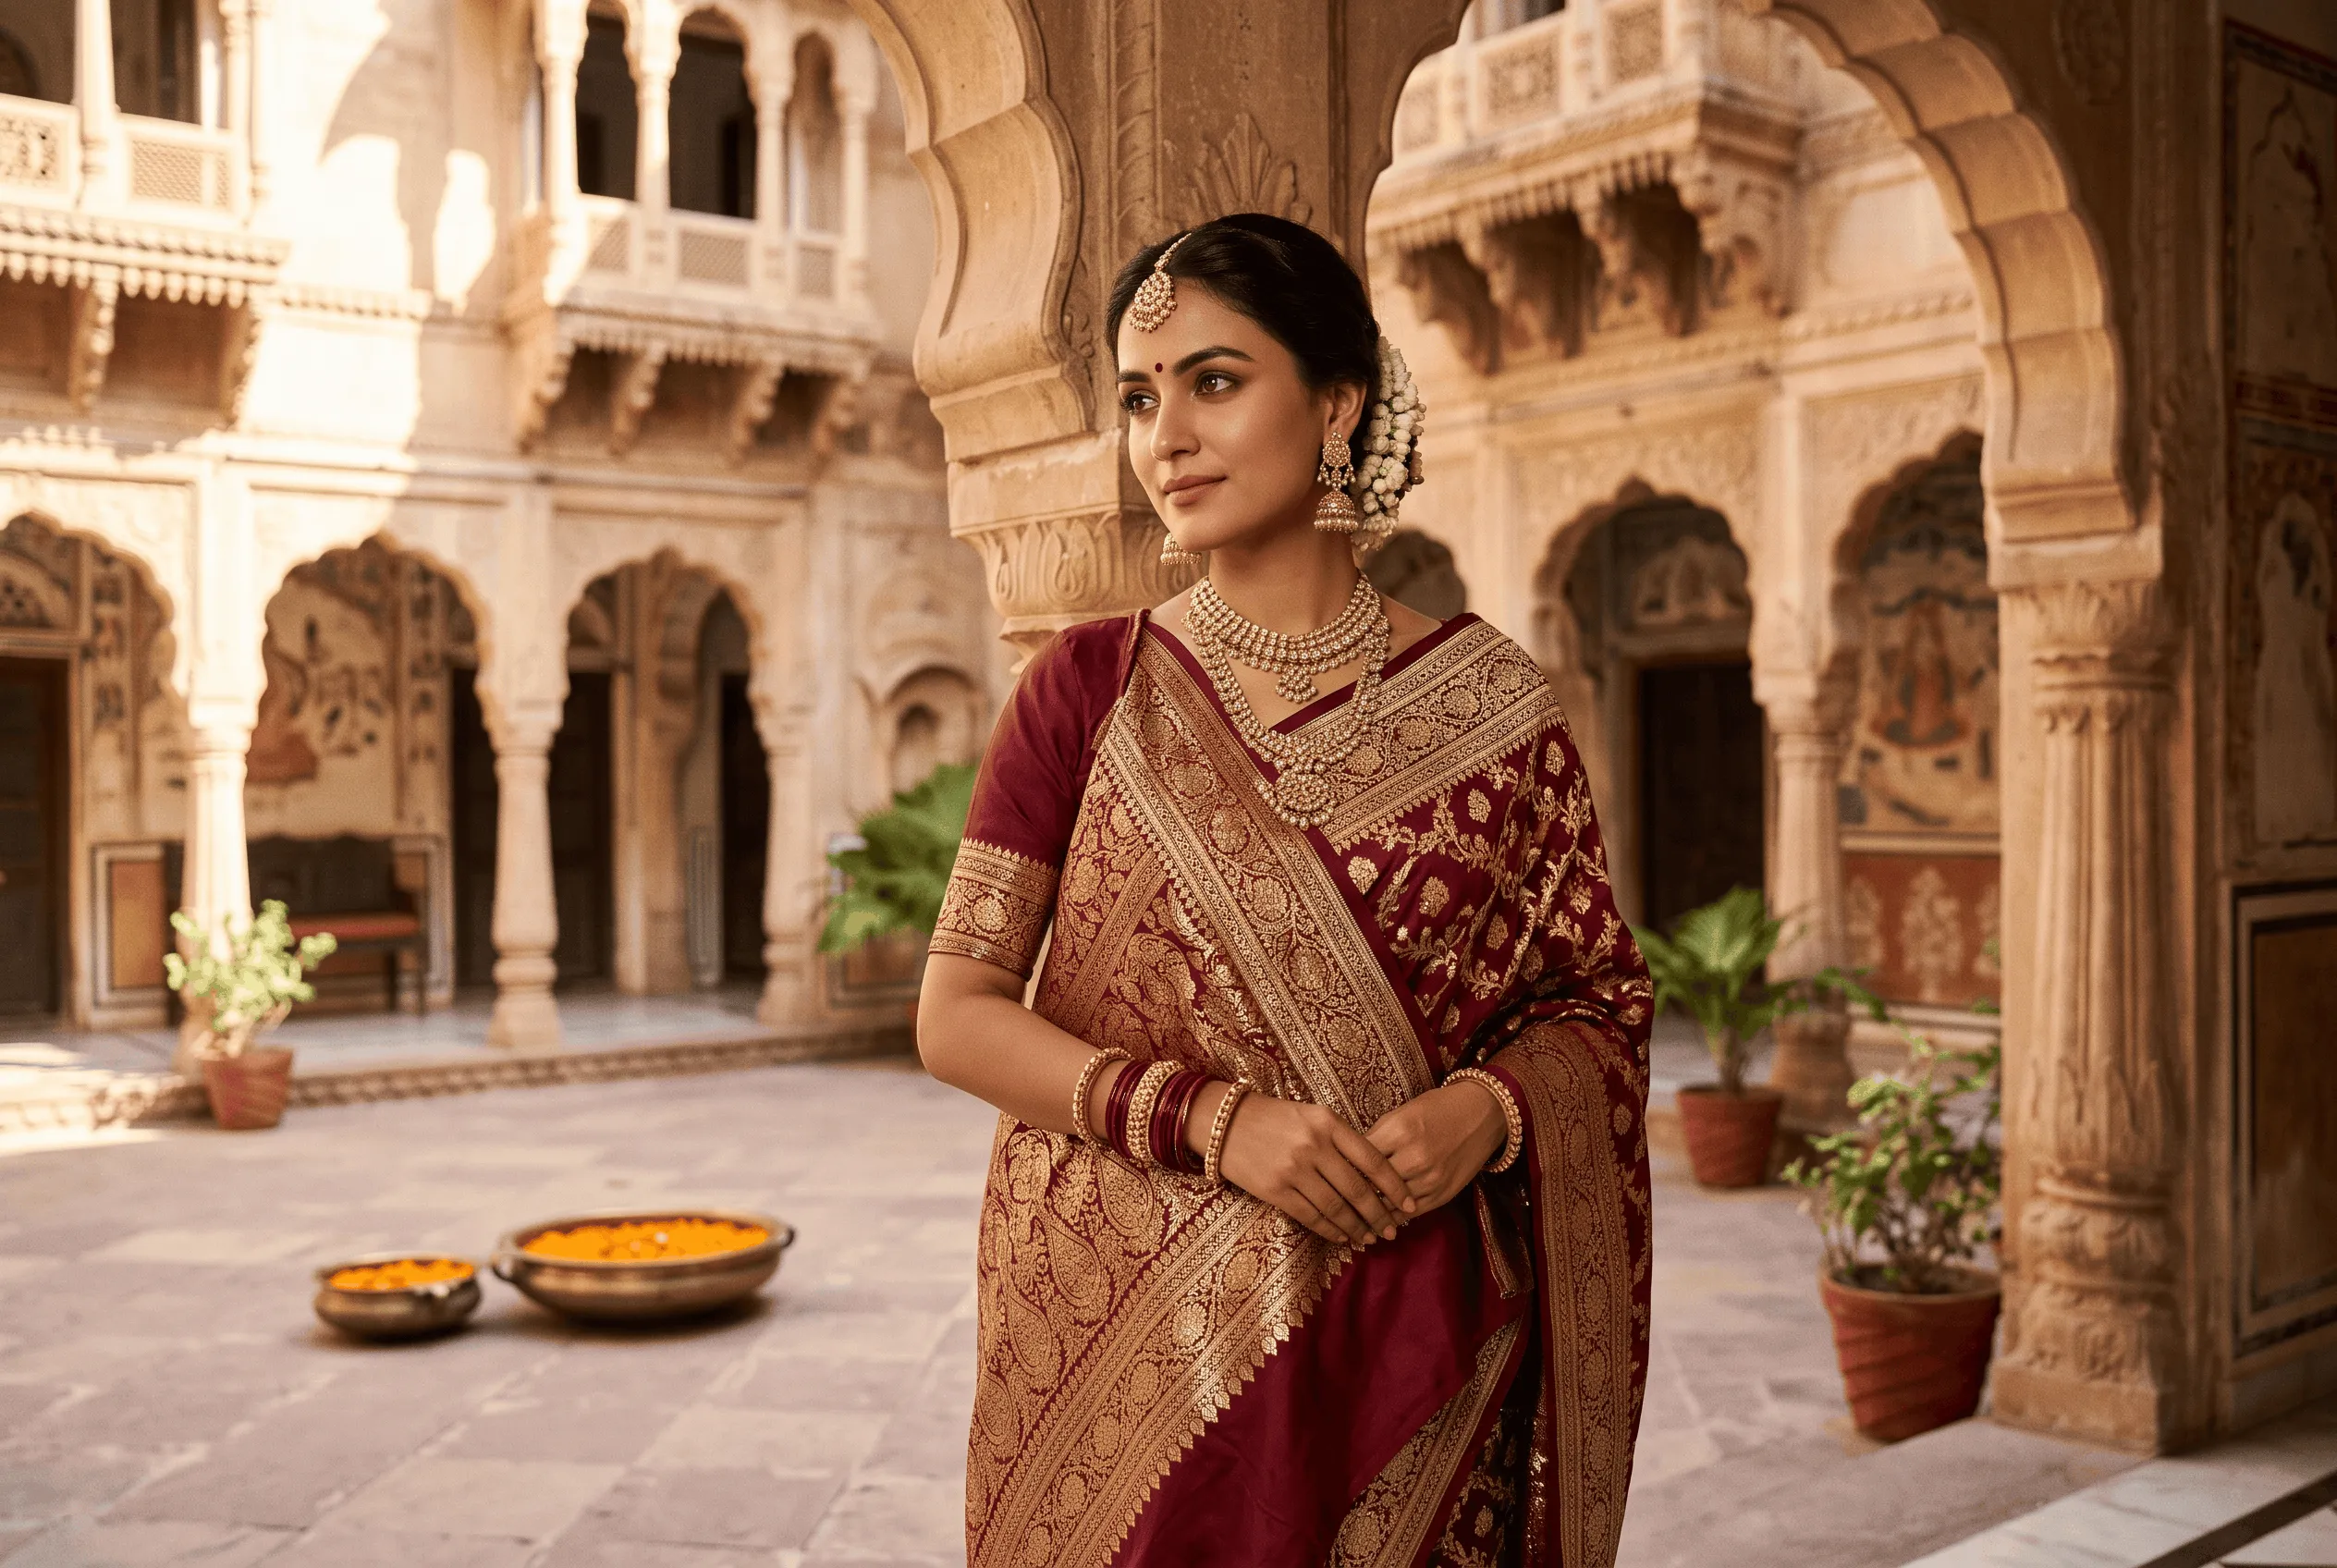
Heavy Banarasi or Kanjivaram: read our guide on how to drape a Banarasi saree.
Organza: iron gently and use small pins to avoid marks.
Choosing a Blouse
Office: collared, boat-neck or high-neck blouses with elbow or three-quarter sleeves.
Weddings: brocade or contrast silk blouses.
Receptions and parties: sweetheart, corset or off-shoulder blouses. See our corset blouse design guide.
Everyday: simple round or V-neck blouses.
Nivi Drape for Different Occasions
Office: cotton, linen or crepe sarees with a pleated pallu.
College farewell: georgette or chiffon with an open pallu. See our farewell saree ideas.
Weddings: silk with a semi-open or open pallu.
Receptions: georgette, organza or silk with a modern blouse.
Festivals: silk or silk-cotton with a pleated pallu.
Common Beginner Mistakes
Petticoat too loose: the saree slips.
Hem too long or short: check it with your footwear on.
Uneven pleats: take your time and line up the bottom edges.
Pallu too long: it drags and gets stepped on.
Too few pins: light sarees slip without pins.
Satin petticoat: fabric slides on it; choose cotton.
How to Make the Saree Stay in Place All Day
Tie the petticoat firmly.
Pin the pleats on the inside.
Pin the pallu to the blouse from the inside.
Add a small pin where the saree crosses the waist at the back if it feels loose.
A waist belt can also hold the drape in place for long events.
How Long Does It Take to Learn?
Most women can manage a neat Nivi drape after three or four practice sessions.
The first attempt may take 20–30 minutes, but with practice it becomes a 10-minute routine.
Practise at home before an important event.
A Simple Practice Plan
Day 1: practise only the tuck and the first round, checking the hem length with your footwear.
Day 2: practise the pleats until they are even, and pin them before tucking.
Day 3: add the pallu and try both a pleated and an open pallu.
Day 4: drape the whole saree from start to finish and time yourself.
Day 5: wear the saree for an hour at home, sitting, walking and climbing stairs, so you know where it needs extra pins.
By the end of the week, most beginners can drape a neat Nivi saree in about 15 minutes.
Your Saree Kit
Keep a small pouch ready with:
Safety pins in two sizes, for pleats and the pallu.
Bobby pins, in case you cover your head or need to secure the pallu to your hair.
A small sewing kit for a loose hook or hem.
Double-sided fashion tape to hold the blouse and pallu in place.
A spare petticoat drawstring, because a loose petticoat is the most common reason sarees slip.
Nivi Drape for Different Body Types
Petite: choose light fabrics, narrow borders and slightly fewer pleats, and keep the pallu around knee length.
Tall: wide borders and a longer, open pallu look graceful.
Curvy: fluid fabrics such as crepe, georgette and chiffon drape smoothly; tuck the pleats slightly lower so they fall straight.
Slim: crisp cottons, organza and silks add structure and volume.
Easier Options for Beginners
If draping still feels difficult, consider a pre-pleated or pre-stitched saree, which comes with pleats sewn in.
Our pre-draped saree guide explains the options.
Beyond the Nivi Drape
Once you are comfortable with Nivi, you can try other drapes.
Seedha pallu: pallu over the right shoulder to the front. See North Indian saree draping styles.
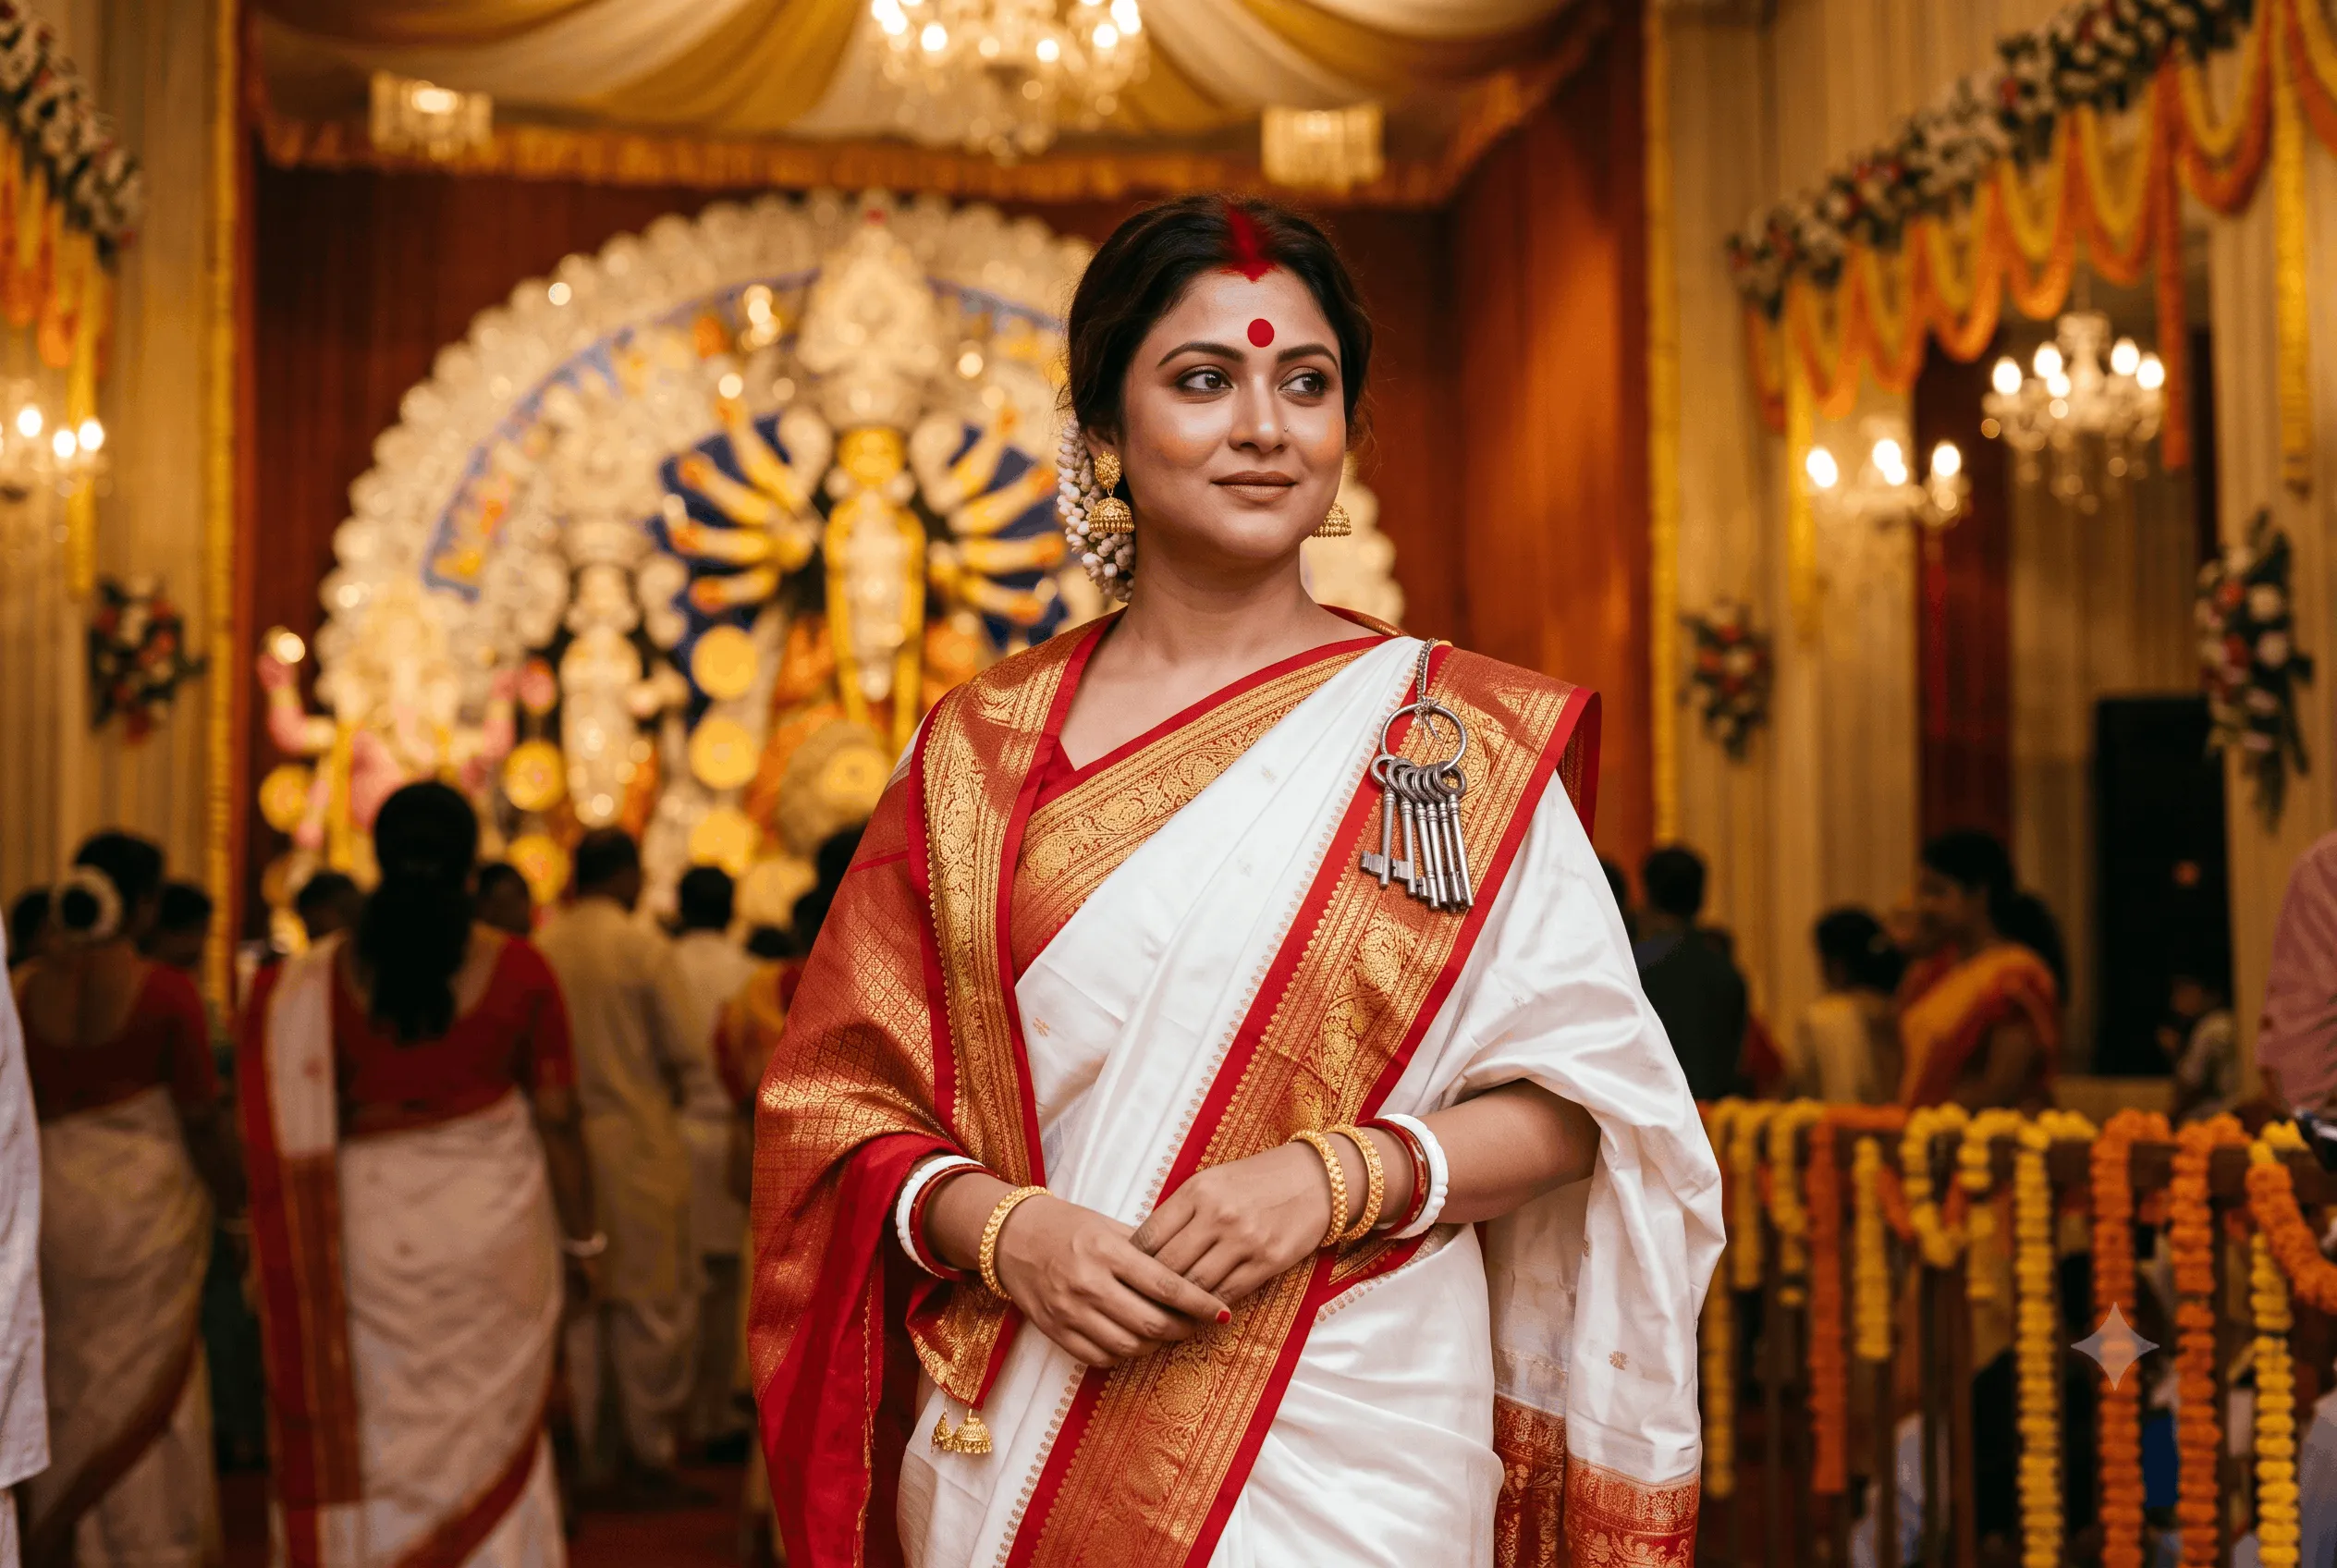
Bengali drape: box pleats and a key bunch. See our Bengali saree draping guide.
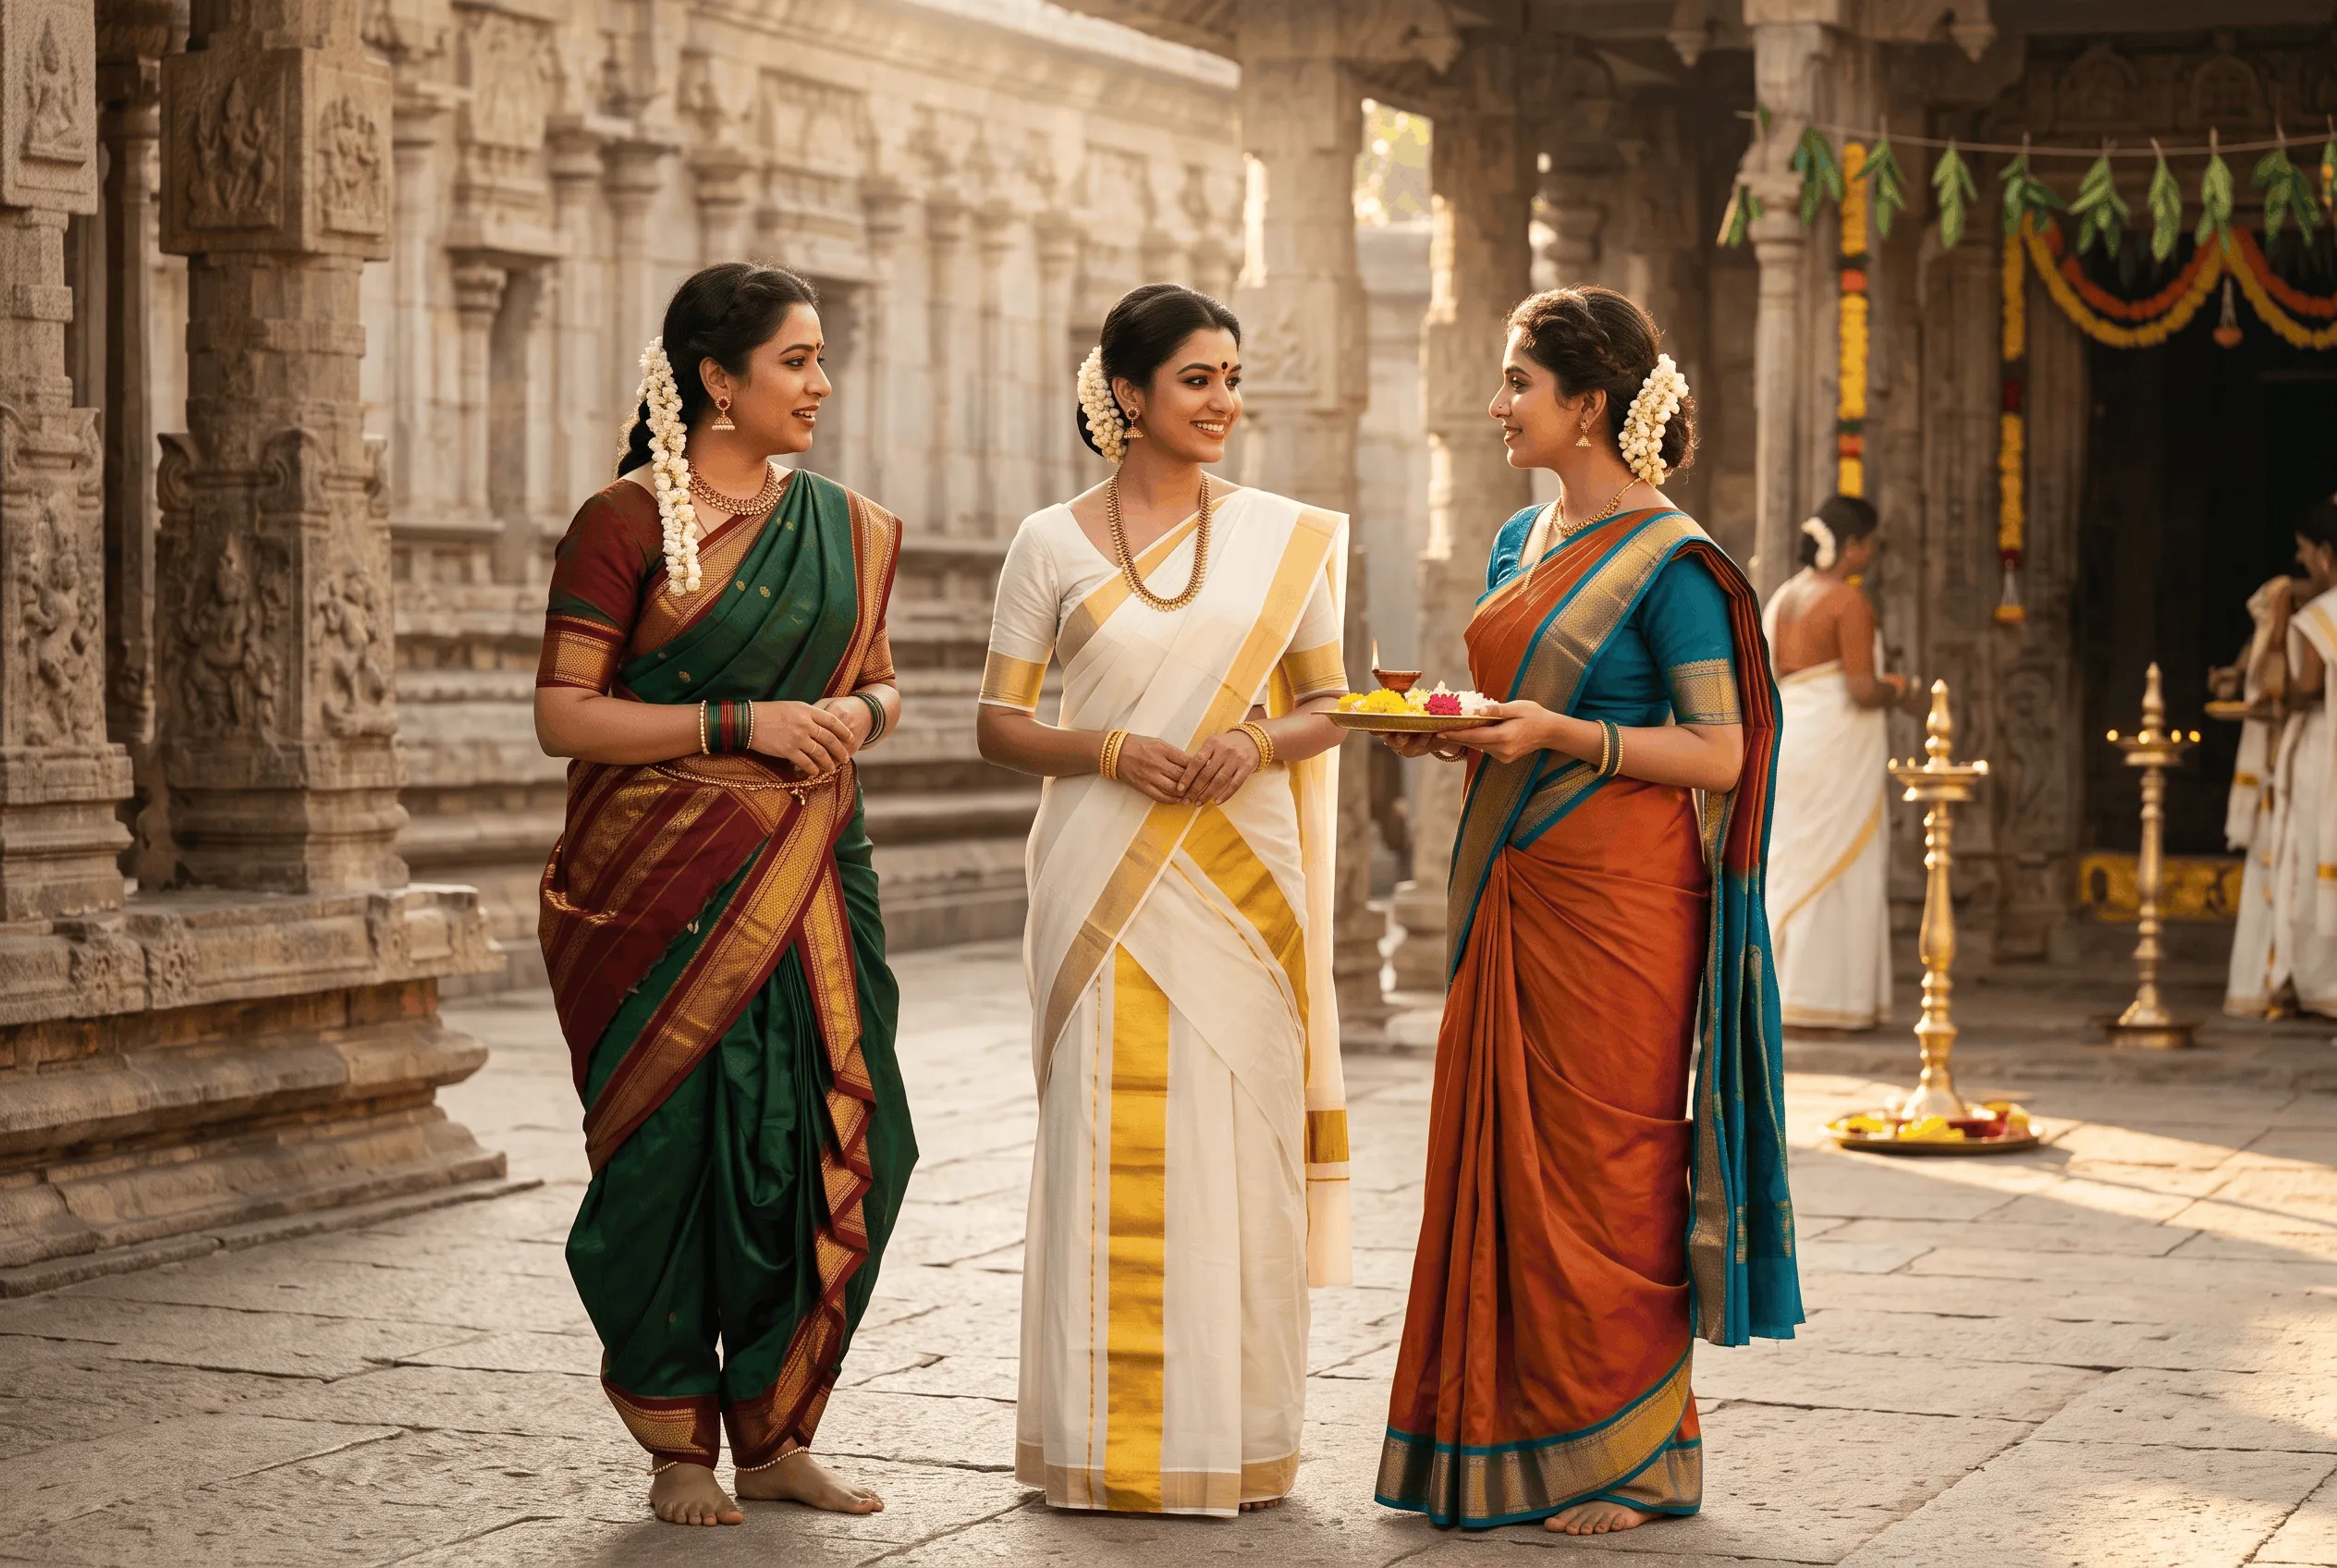
South Indian drapes: madisar, Kodava and more. See South Indian saree draping styles.
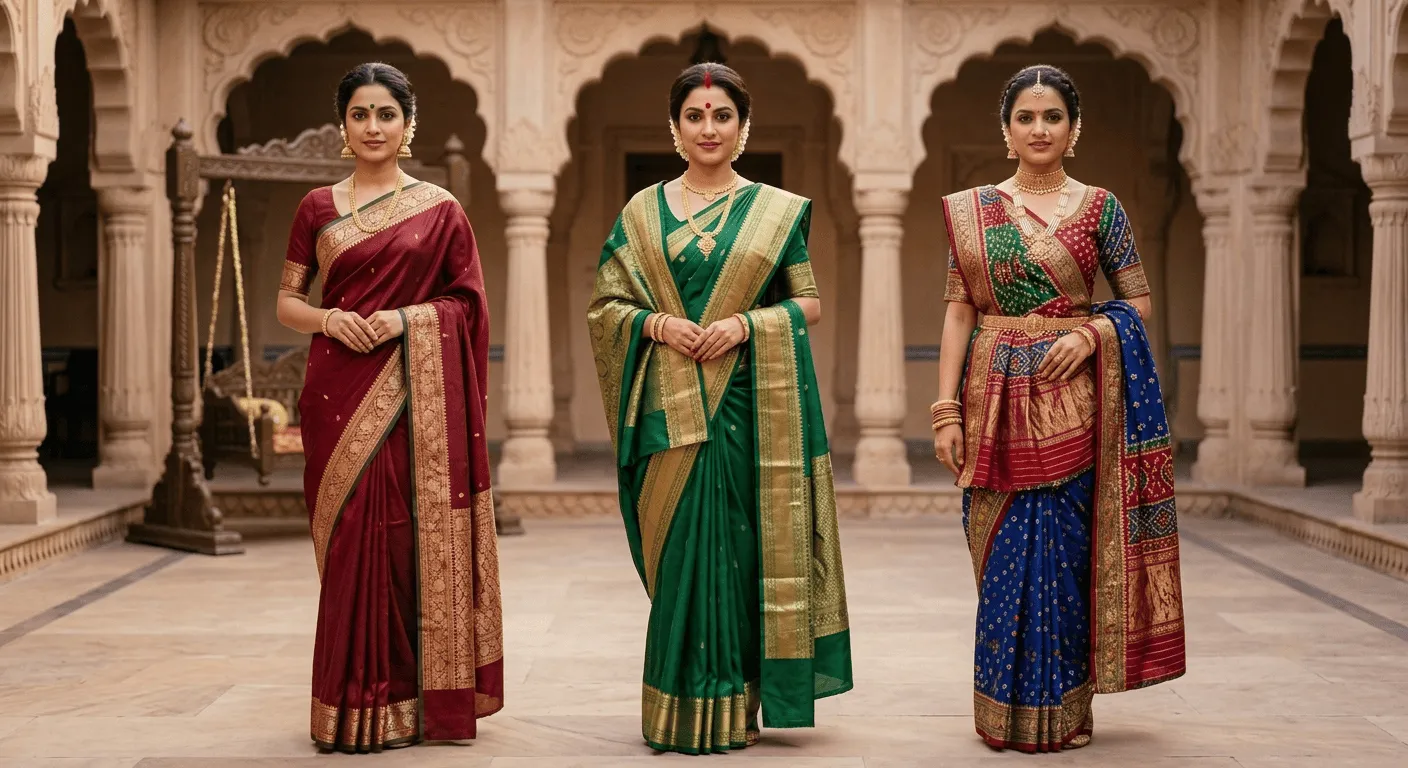
Our overview of saree draping styles: Nivi, Bengali and Gujarati compares them side by side.
Your First Saree Drape
The Nivi drape is the easiest and most versatile way to wear a saree.
Start with a light saree, tie the petticoat firmly, make even pleats, pin everything securely and practise a few times.
Within a few tries, you will be able to drape a saree neatly and confidently for office, festivals, weddings and every celebration.
Find more saree inspiration in our types of Indian sarees guide and the traditional wear trends 2026 guide.


Comments (0)
Leave a Thought
No comments yet. Be the first to share your thoughts!